1. Preheat
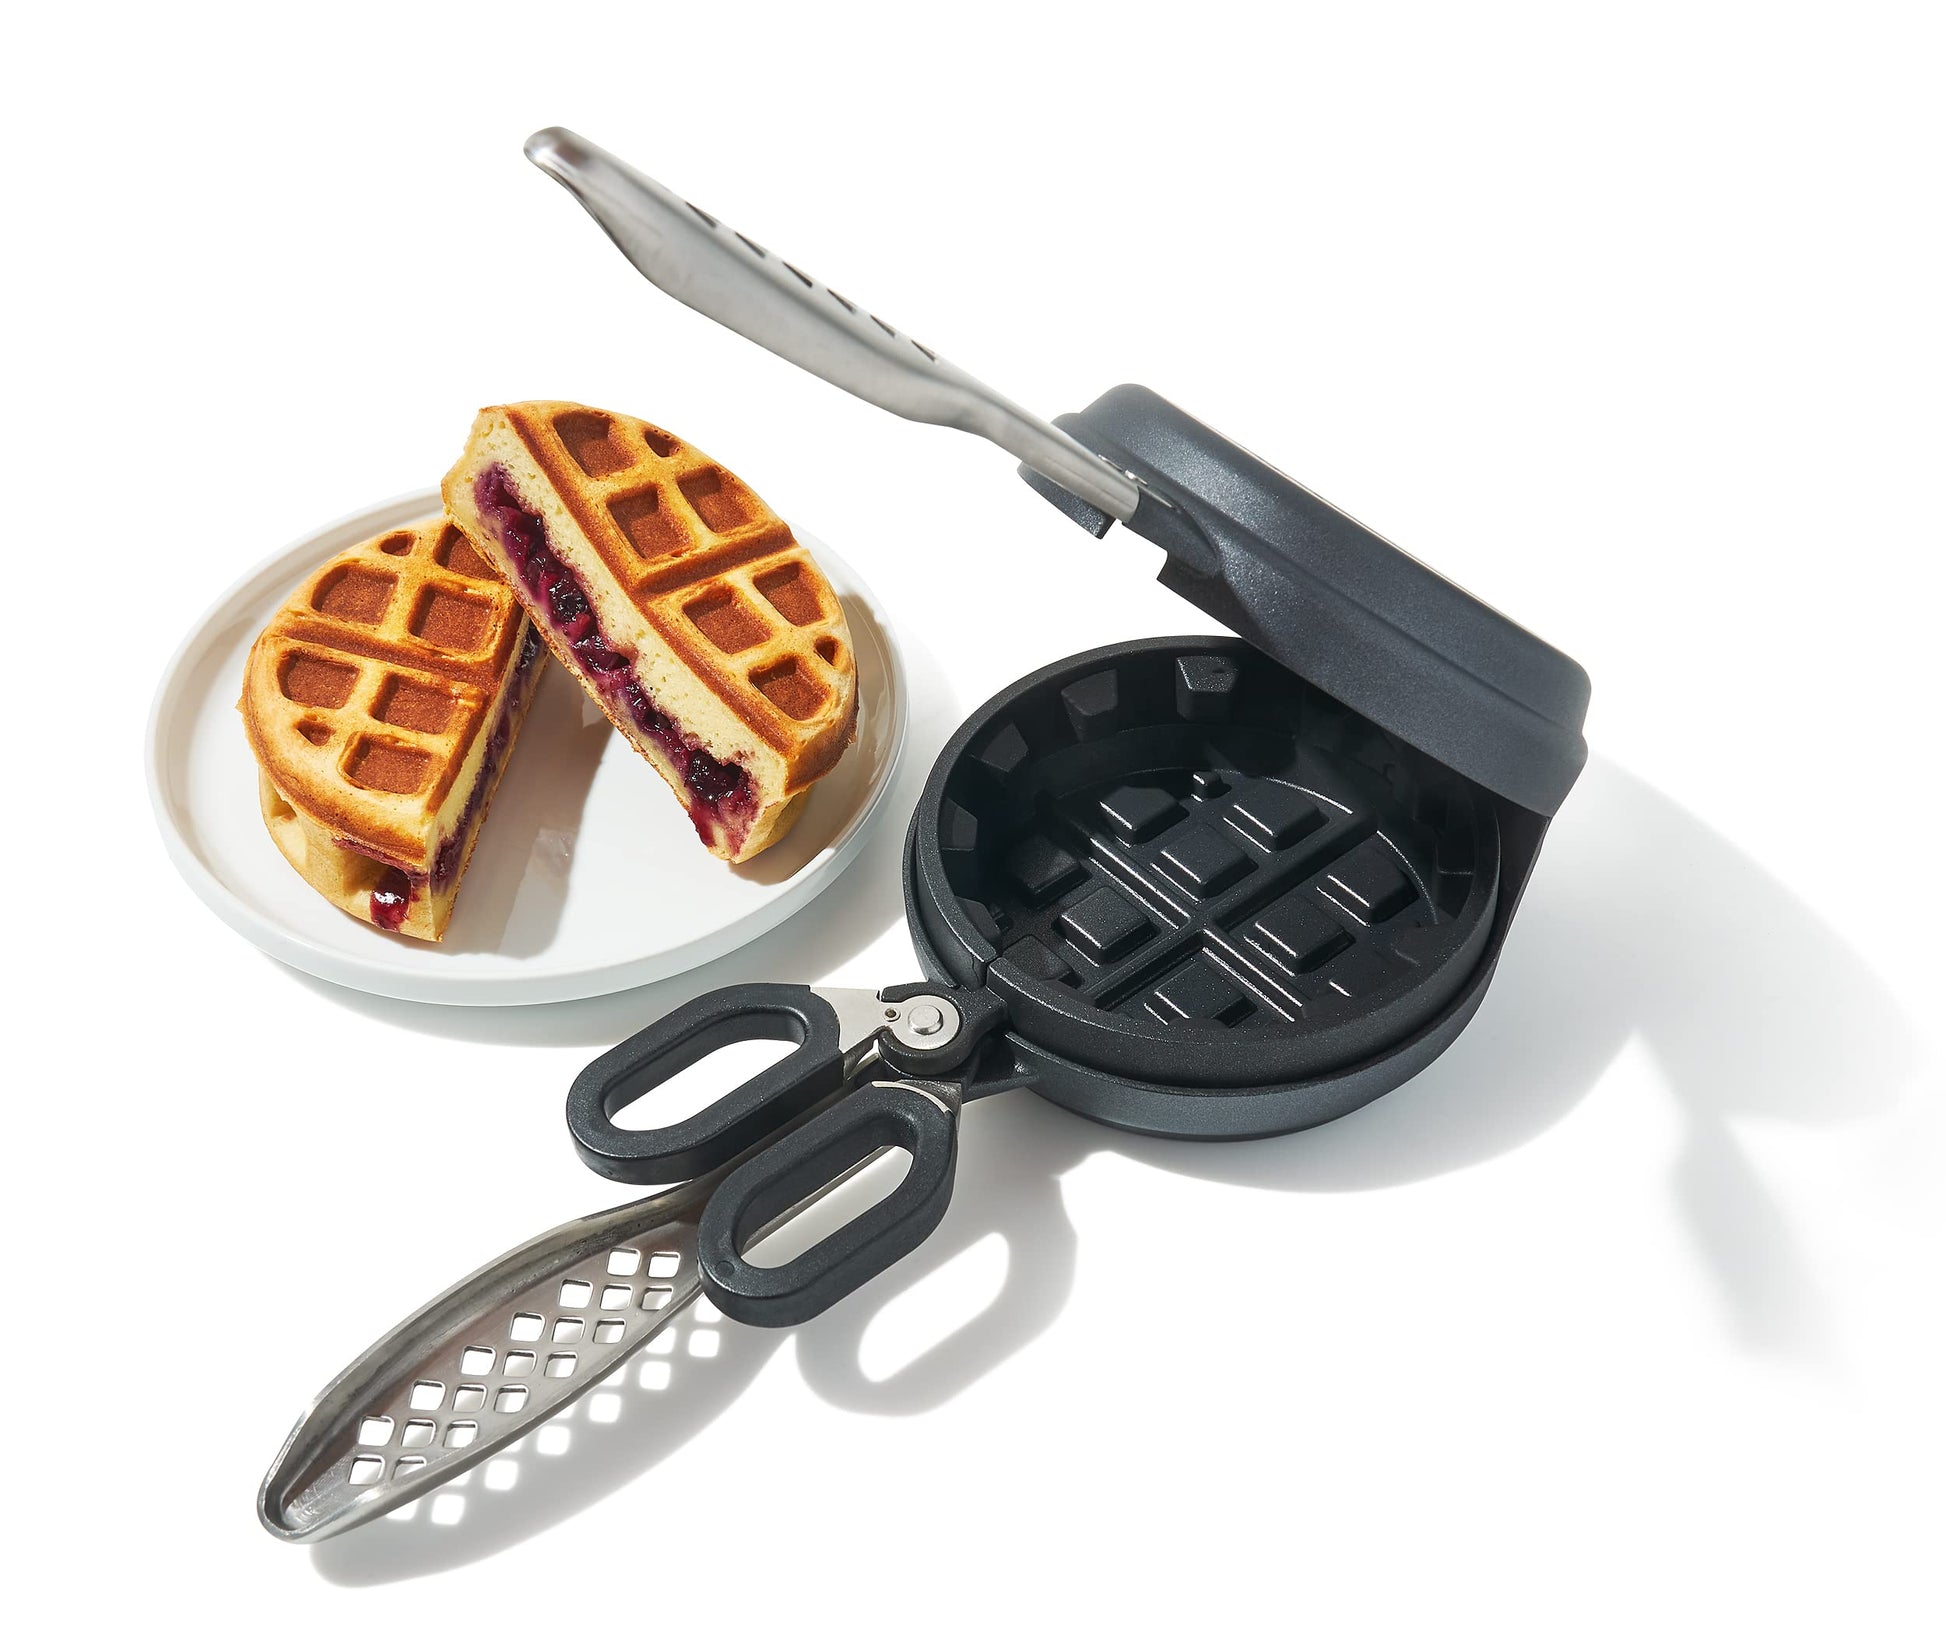
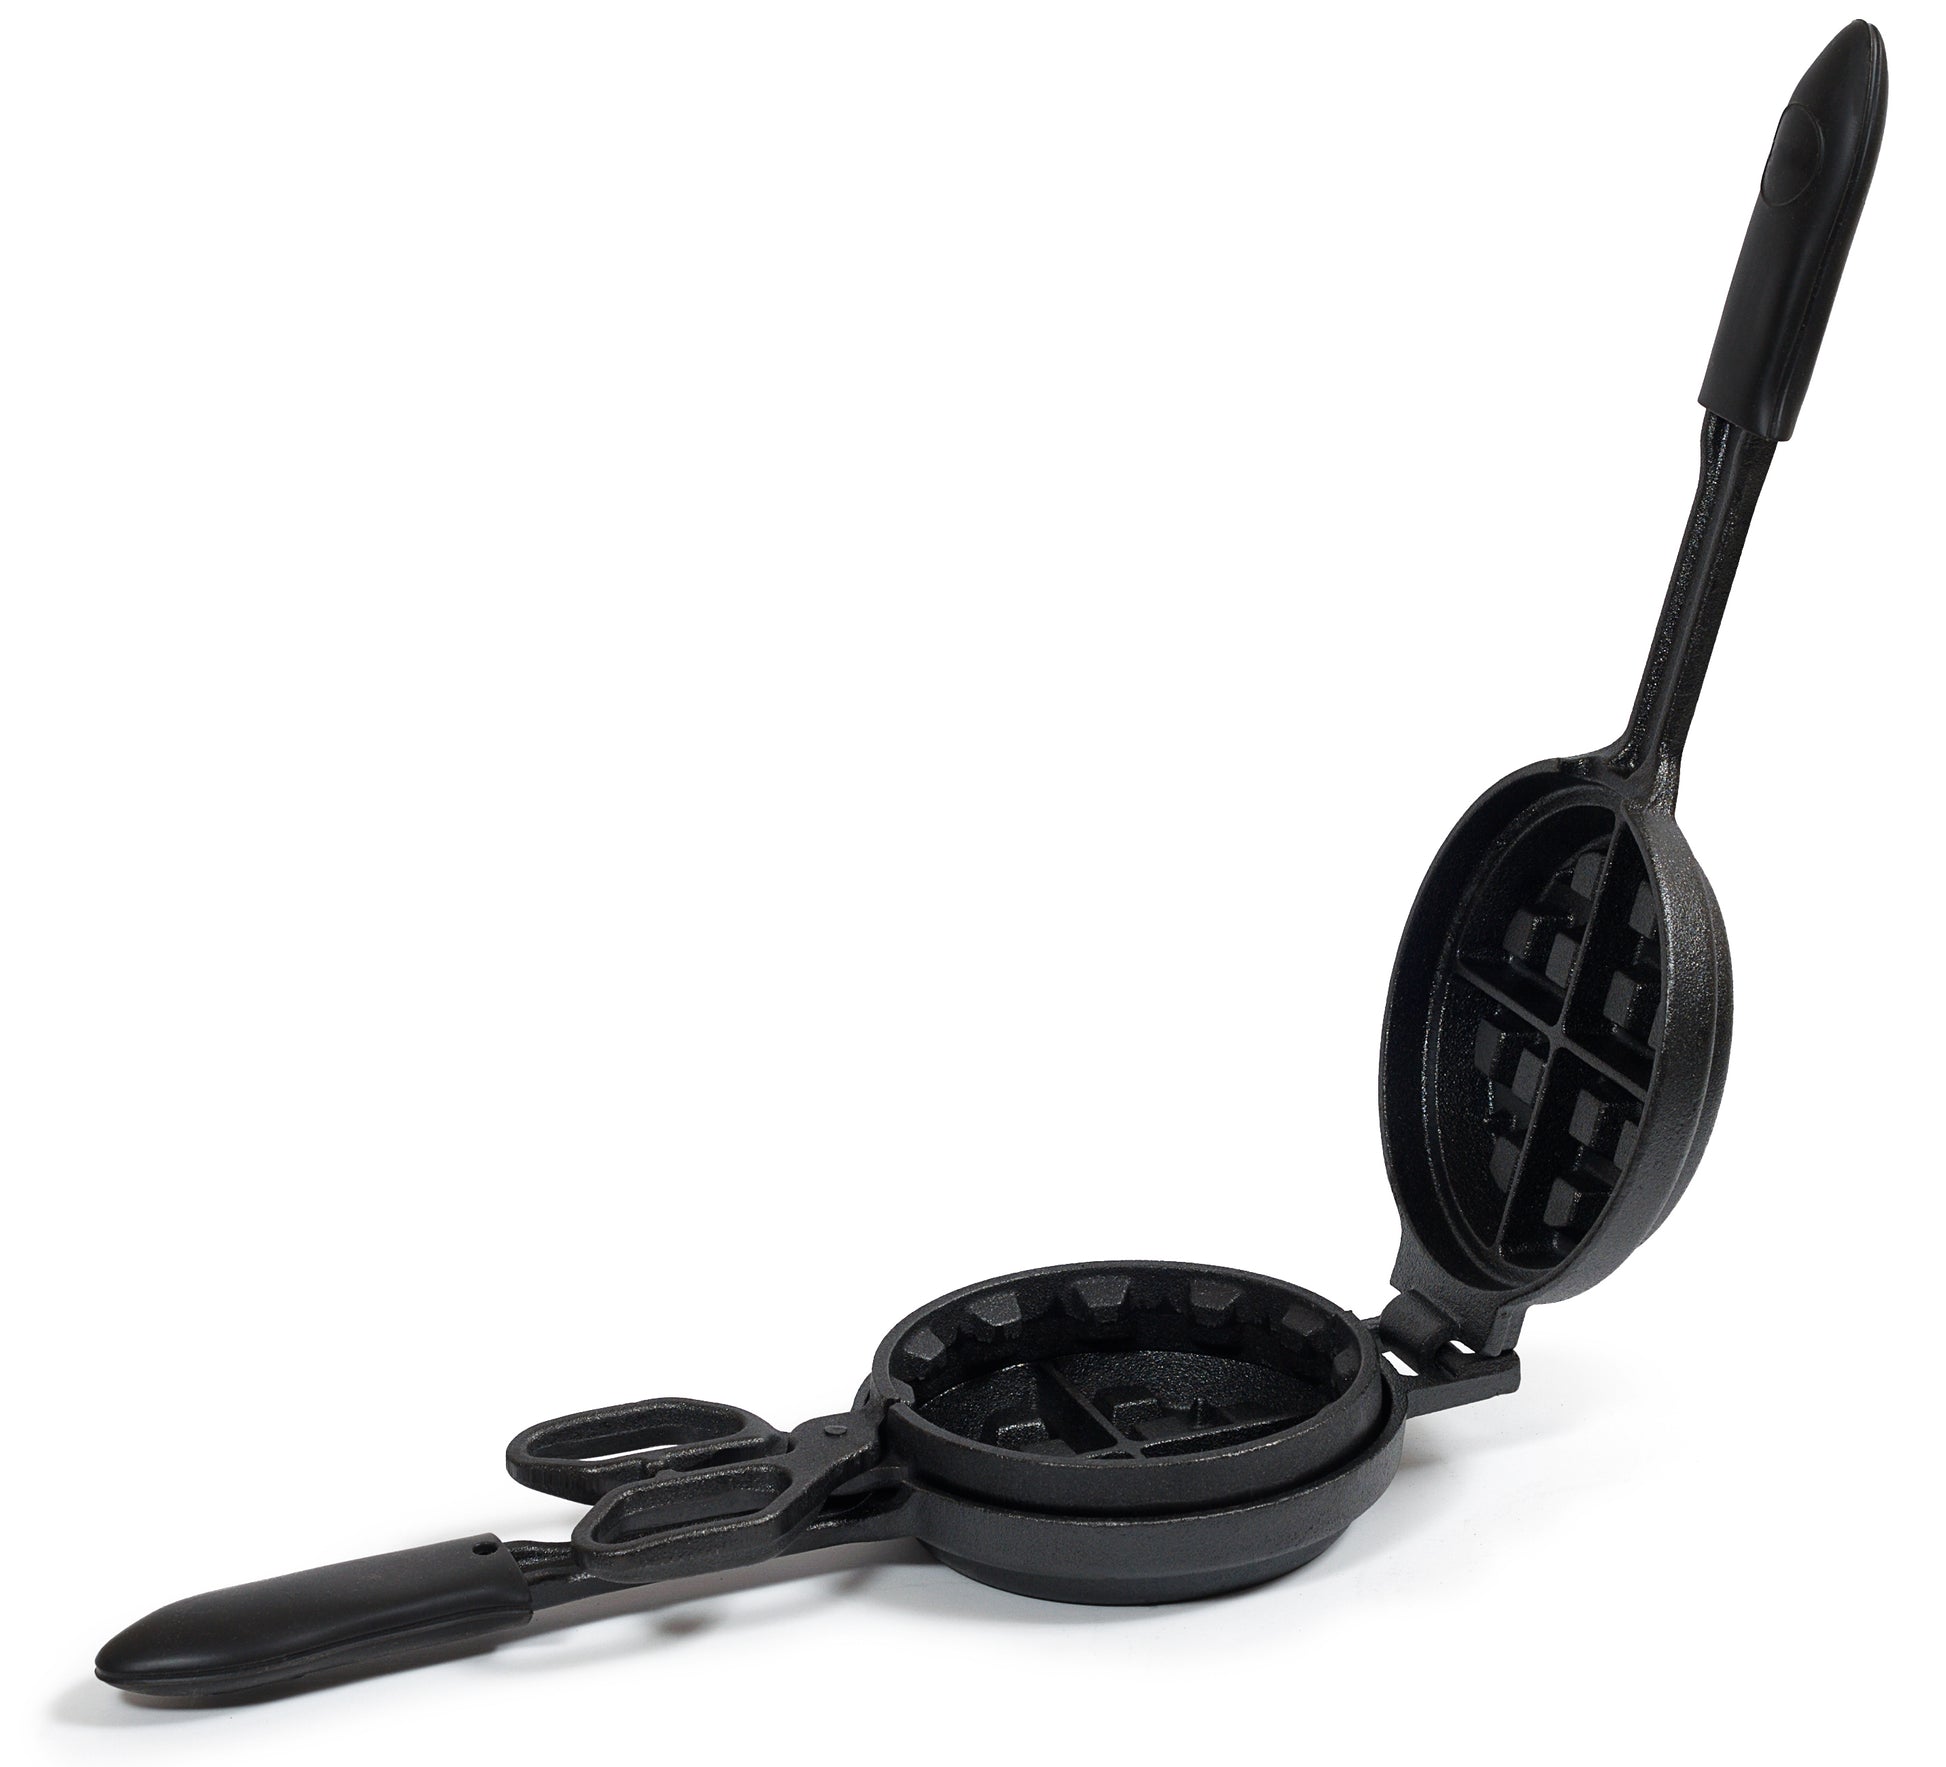
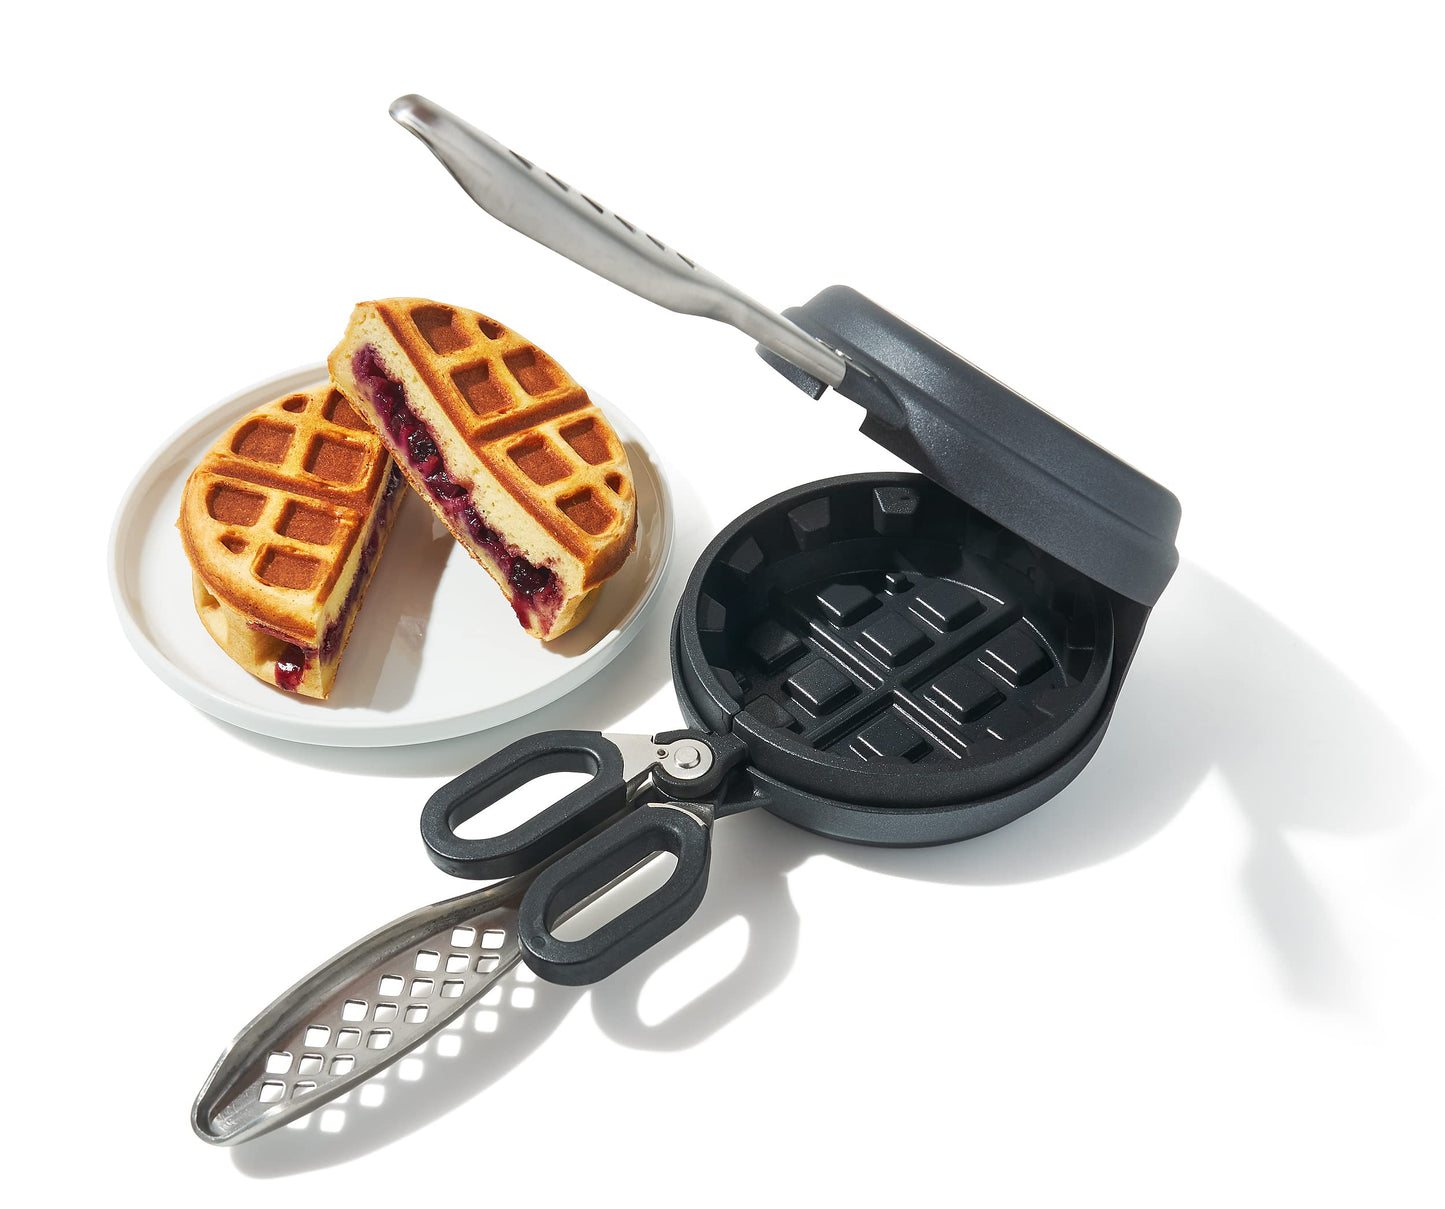
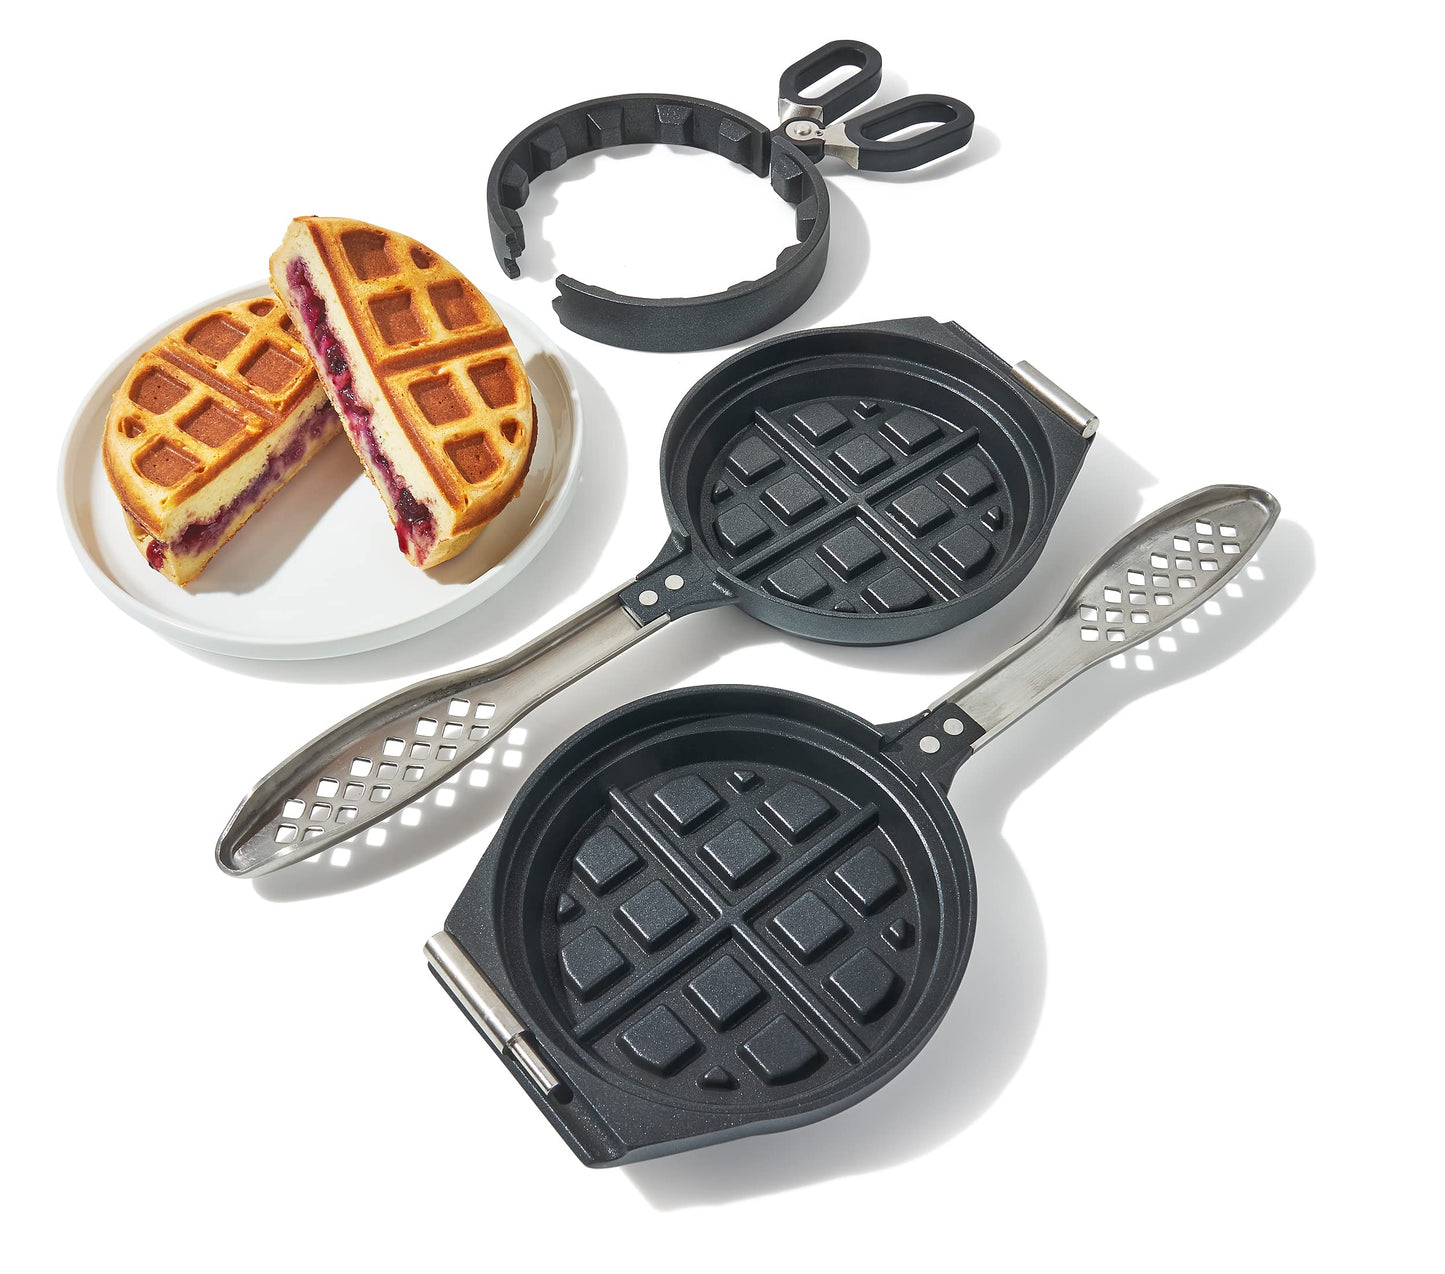
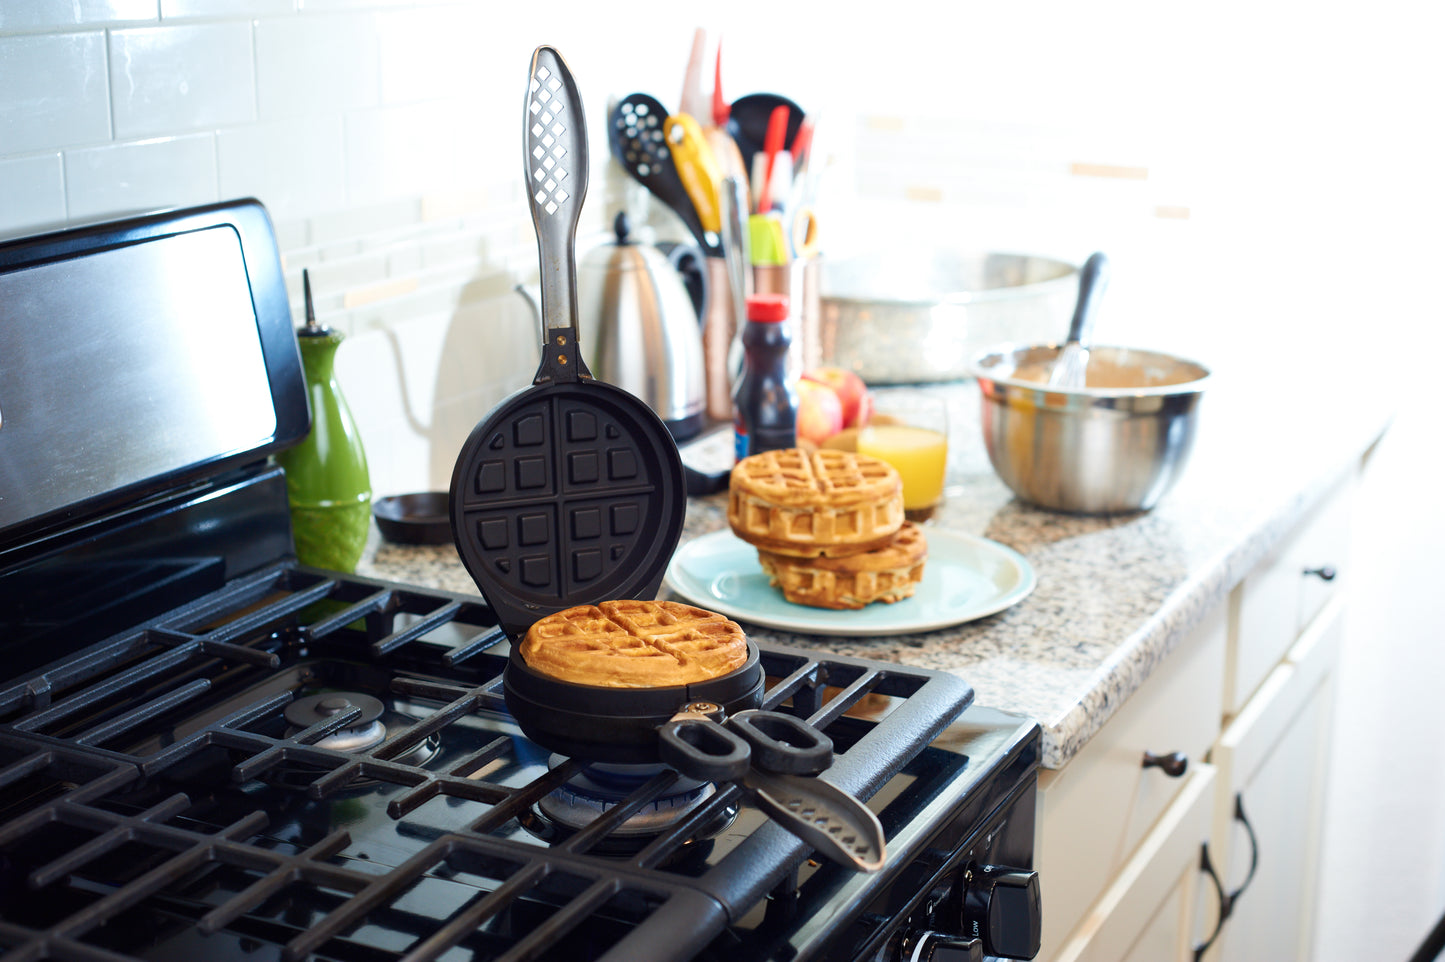
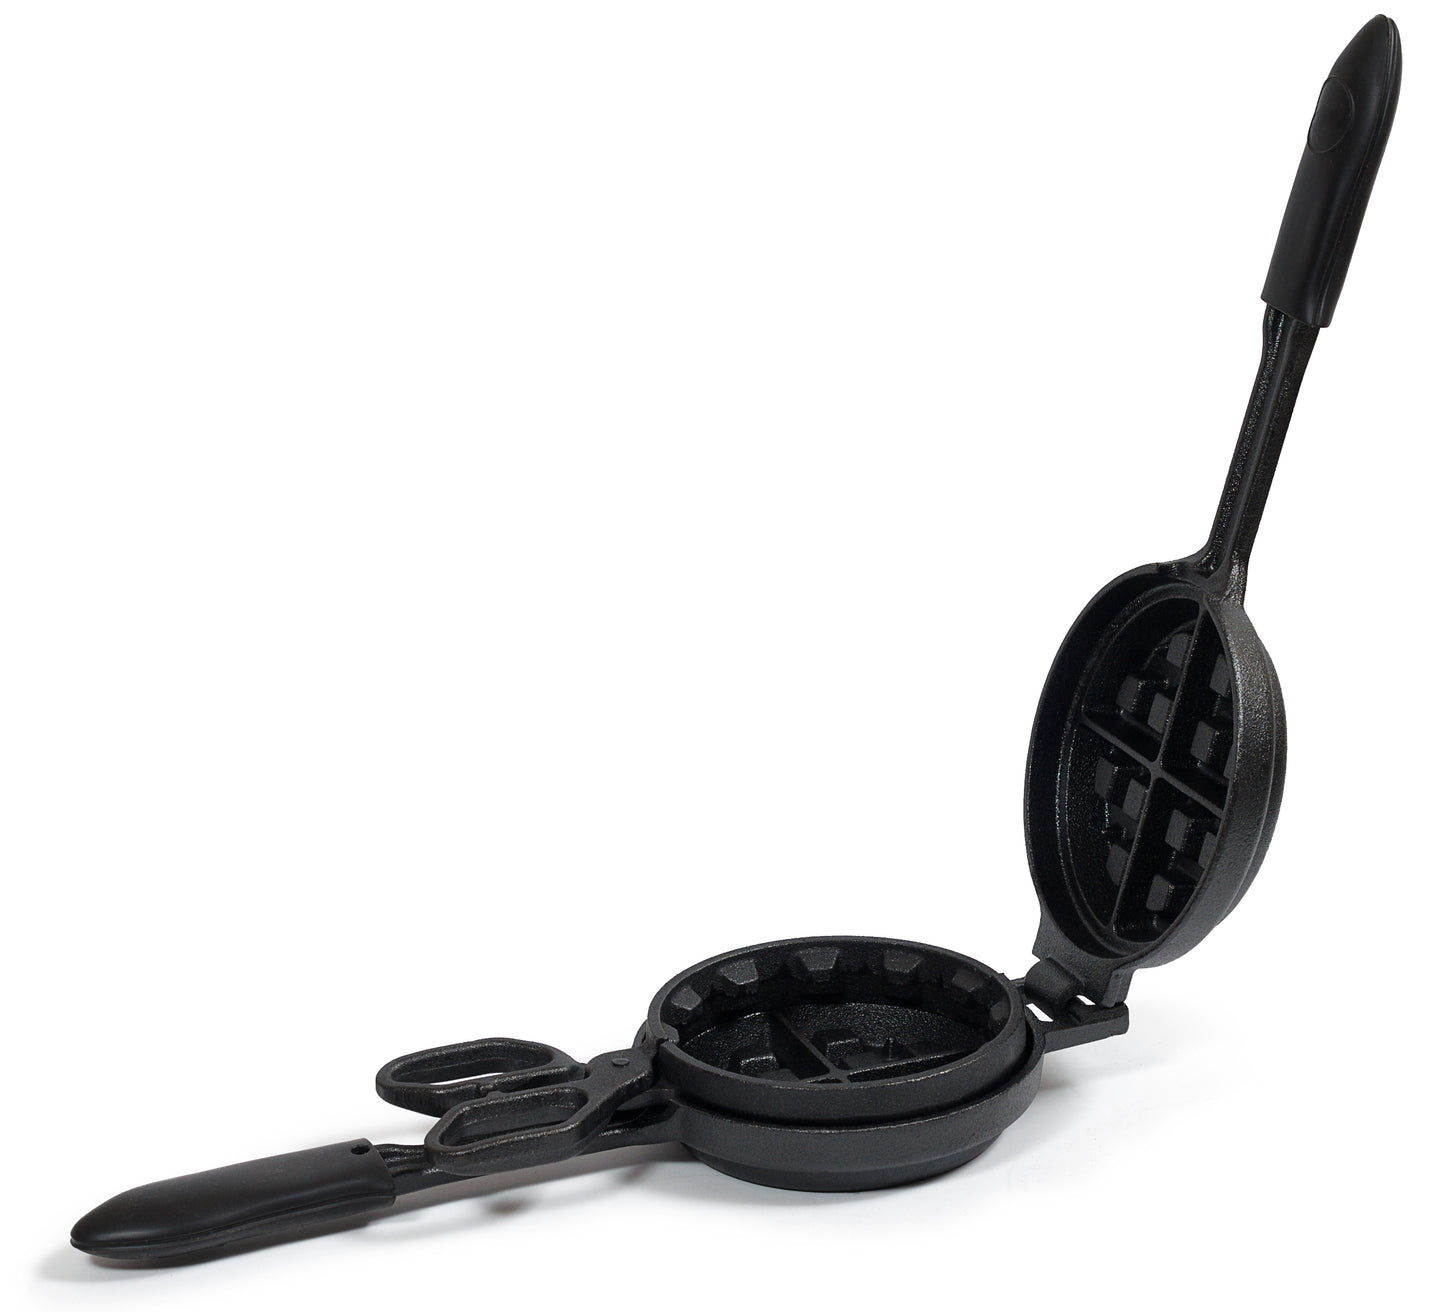
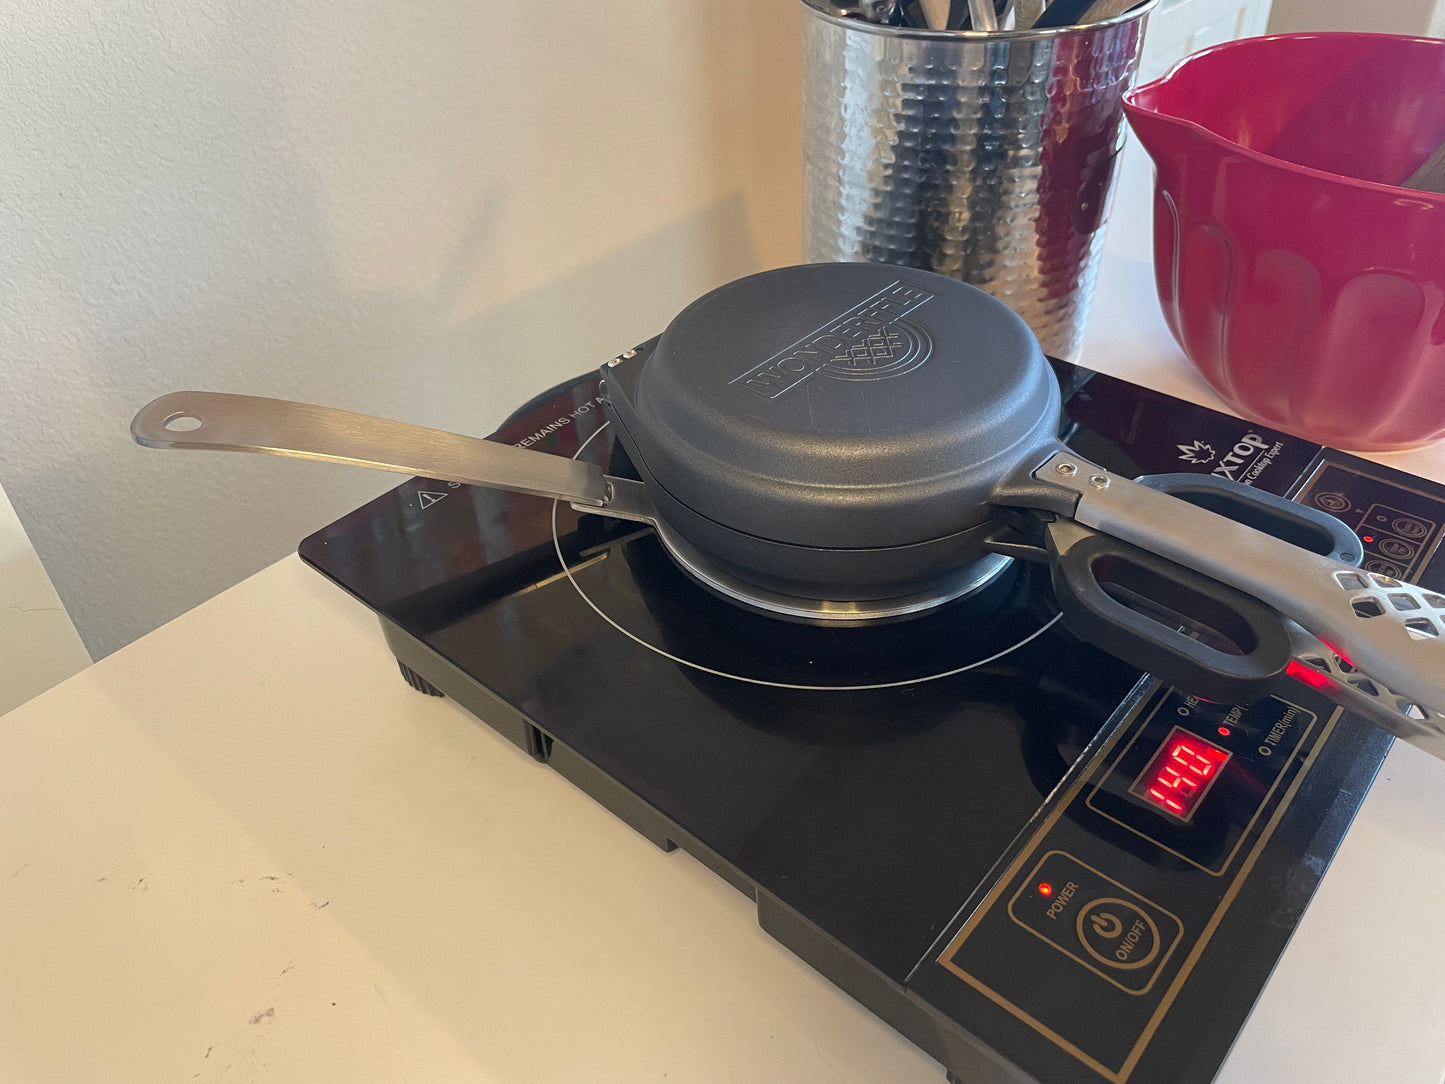
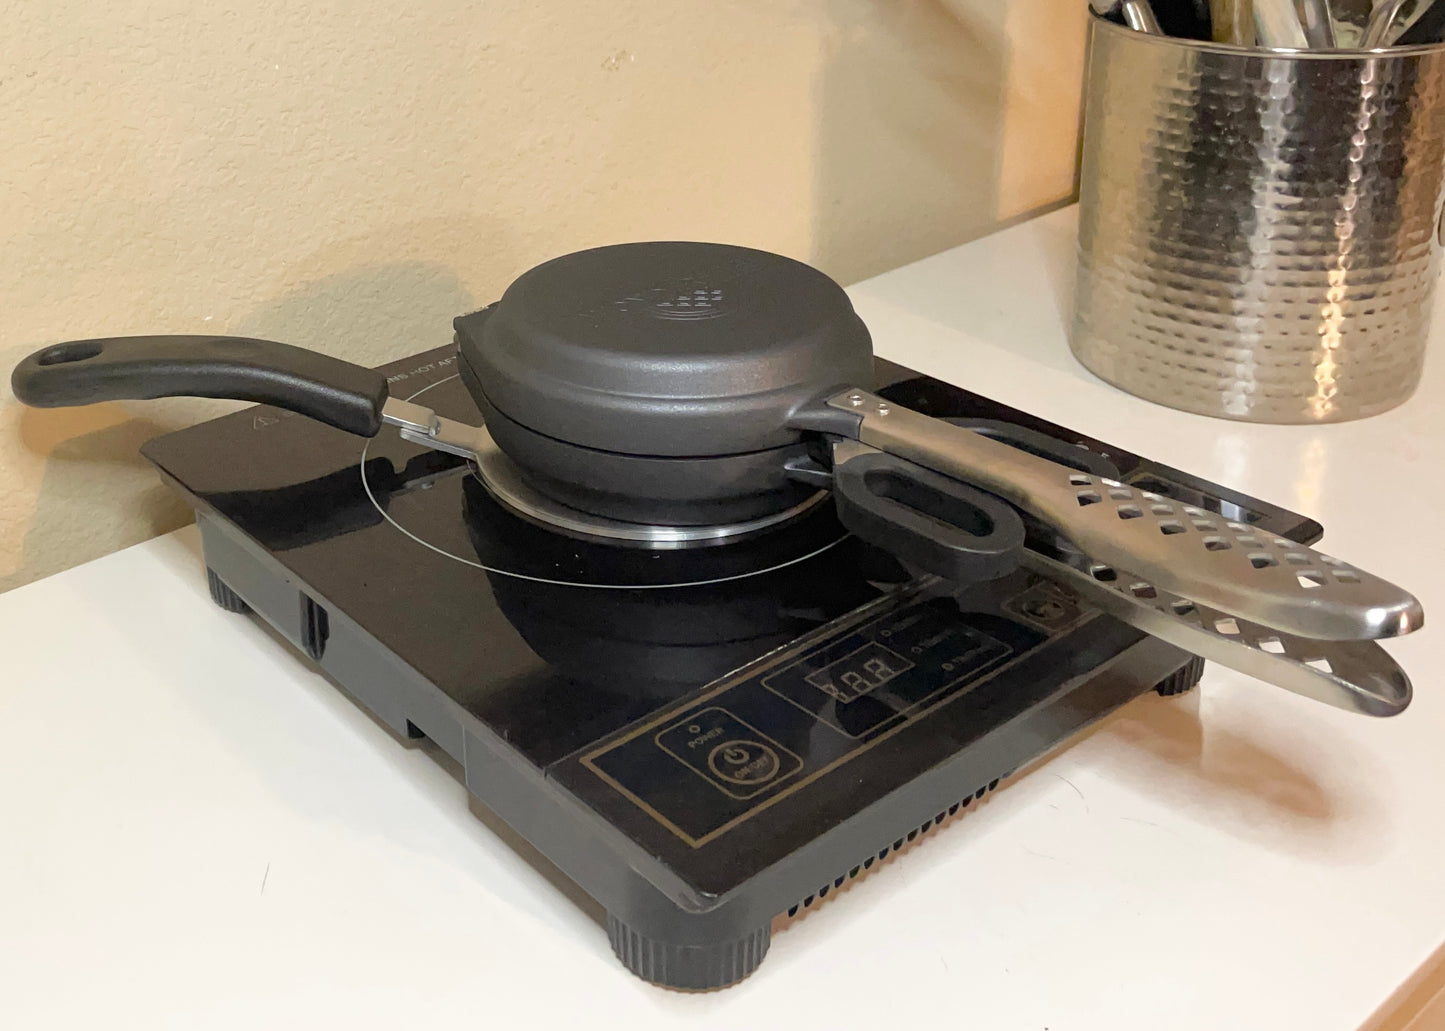
Cast iron cooks better when heated gradually. So you'll generally want to begin by preheating your stuffed waffle iron over low heat. Once all the handles on the top, bottom, and center pans are hot to the touch, your stuffed waffle iron is ready for cooking.

2. Mix Batter
Whether your batter is pre-packaged, homemade, sweet, savory, or gluten-free, prepare it beforehand just like you would when using a conventional waffle maker.

3. Prepare Filling
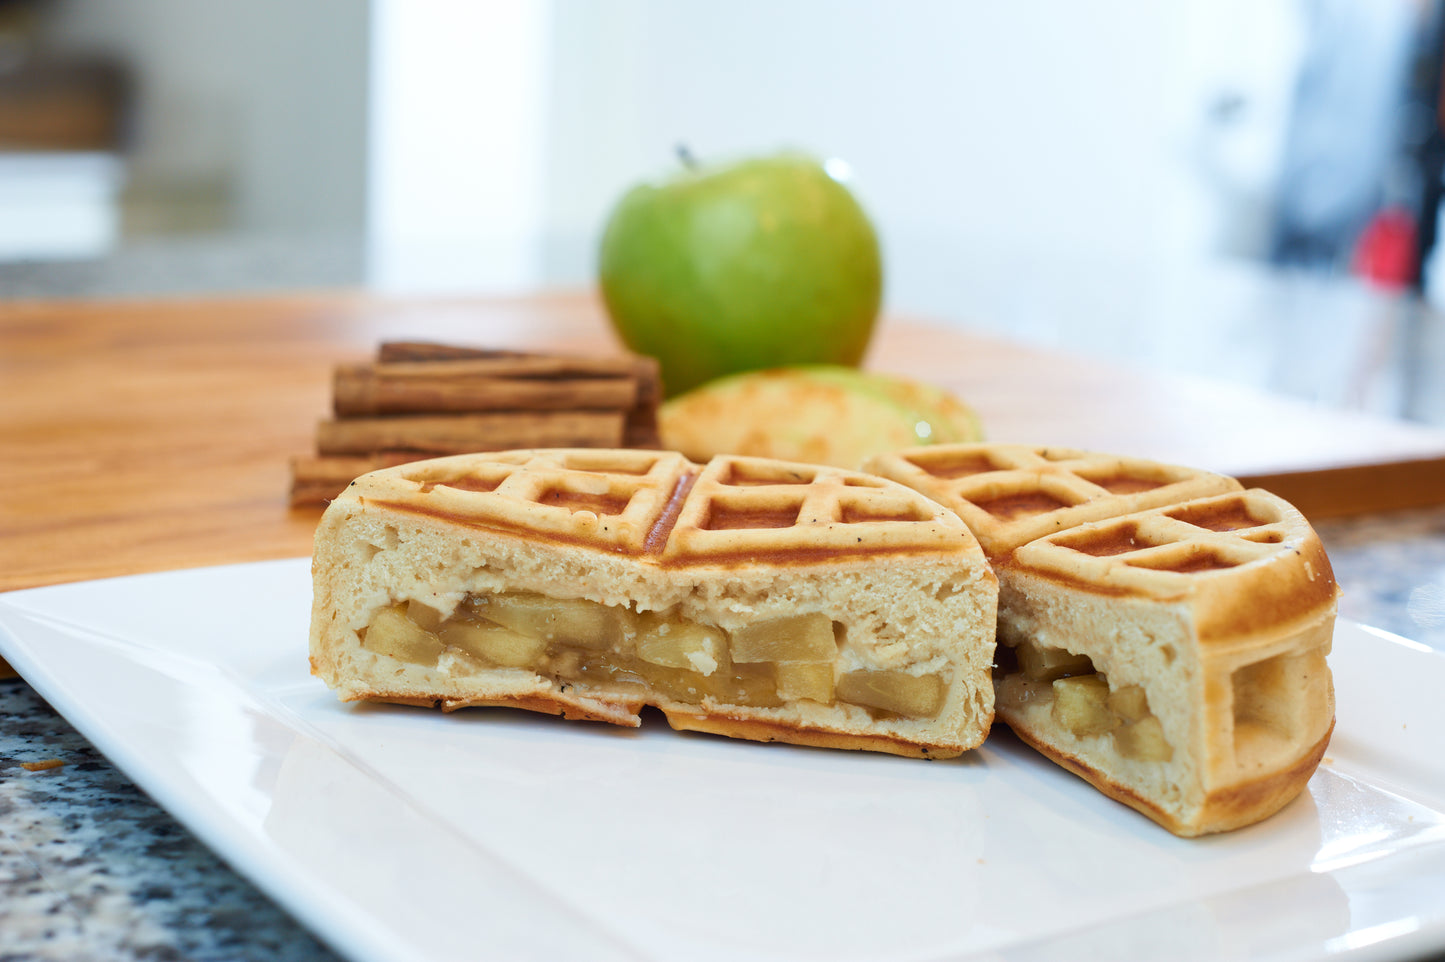
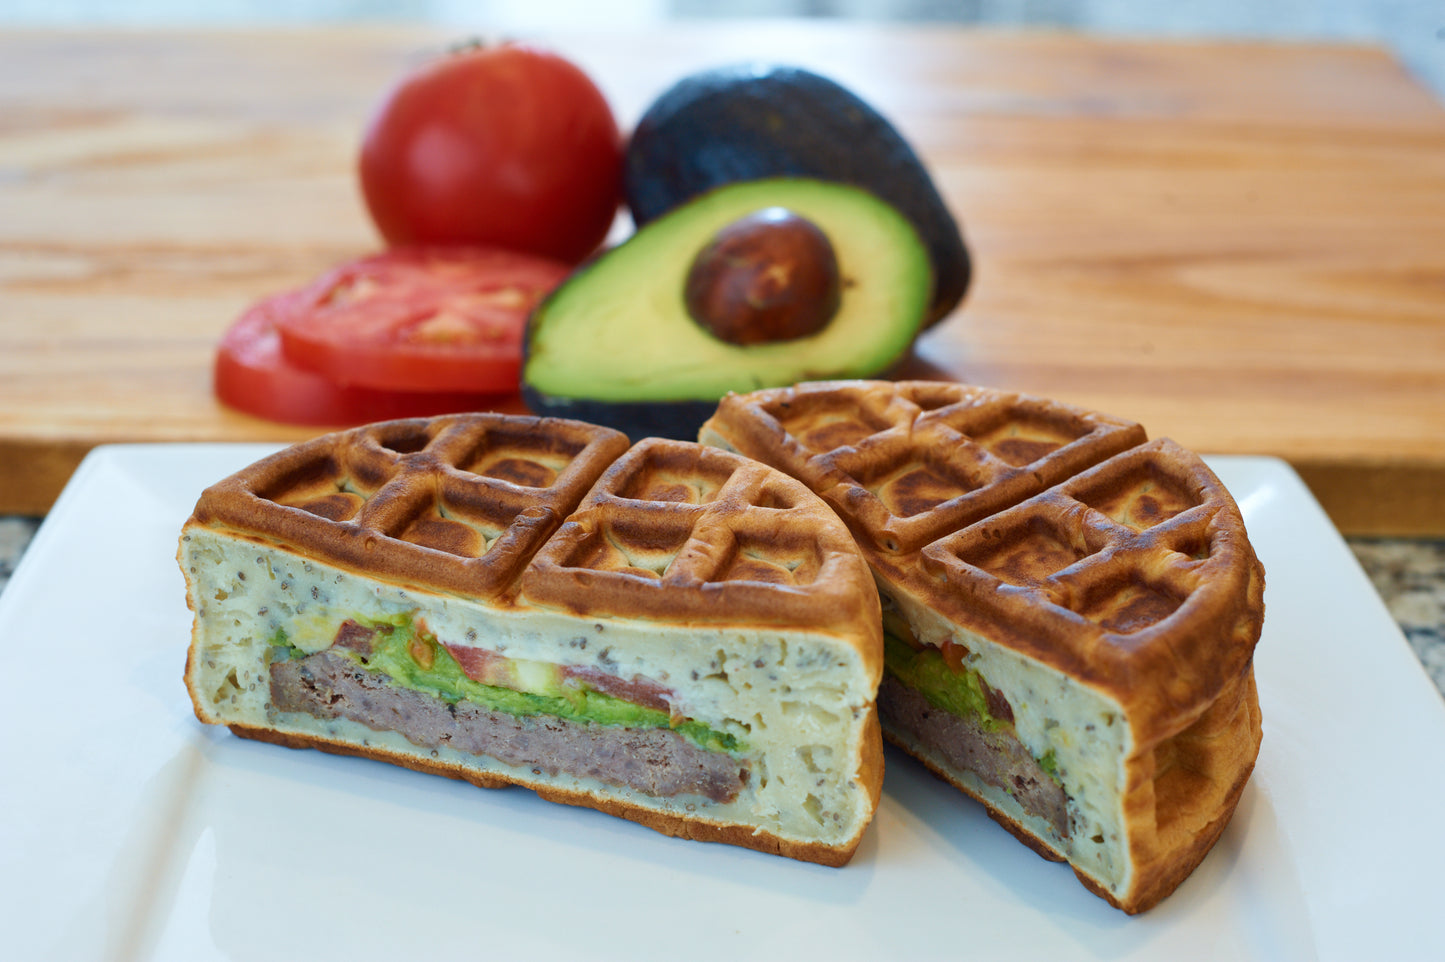
Your stuffed waffle iron will only cook the batter enclosing your filling, not the filling itself.

4. Grease
With the heat at low to medium low, lift up the top pan by rotating it with the handle until it rests at an angle away fro the rest of the device.


Grease the bottom and center pans with cooking oil.

5. Pour Batter
Pour just enough batter to cover the bottom pan indentions. When the batter begins to bubble, you're ready to add the filling.


6. Add Filling
Place filling ingredients onto the batter.

7. Cover With Batter
Pour just enough batter over the filling to just reach the rim of the center pan.


8. Close and Flip
Be sure to grease the top pan before closing.


9. Cook
Set heat at medium to medium high and cook for 3 minutes on one side. While cooking on that side, lift the pan to inspect the doneness of the side facing up. After cooking for 3 minutes on one side, you will flip back to the other side and cook for an additional 2 to 3 minutes.


10. Remove
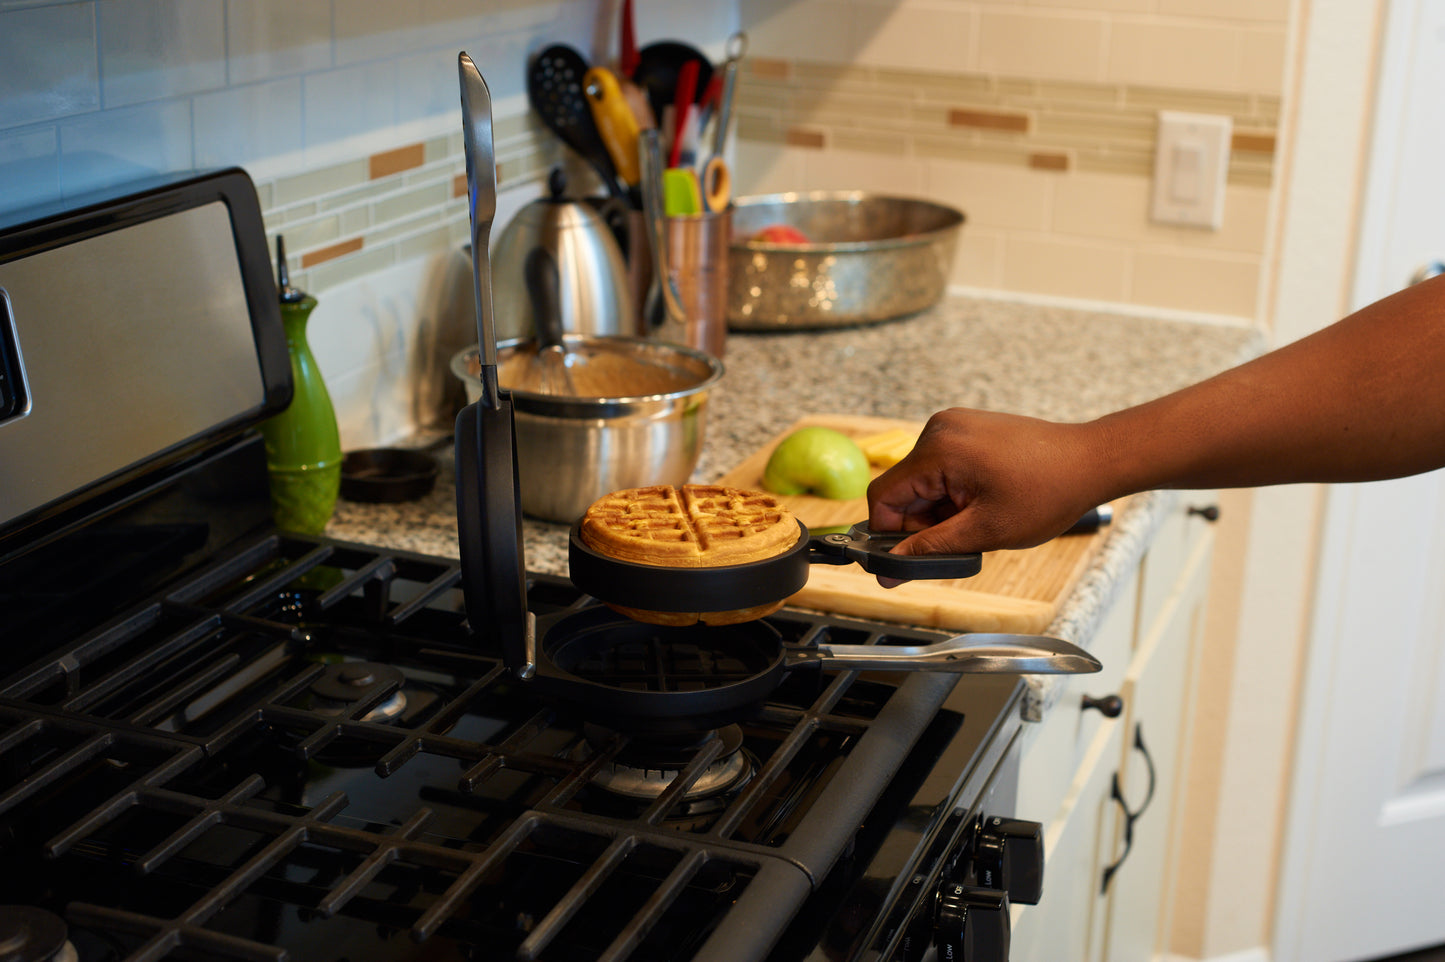
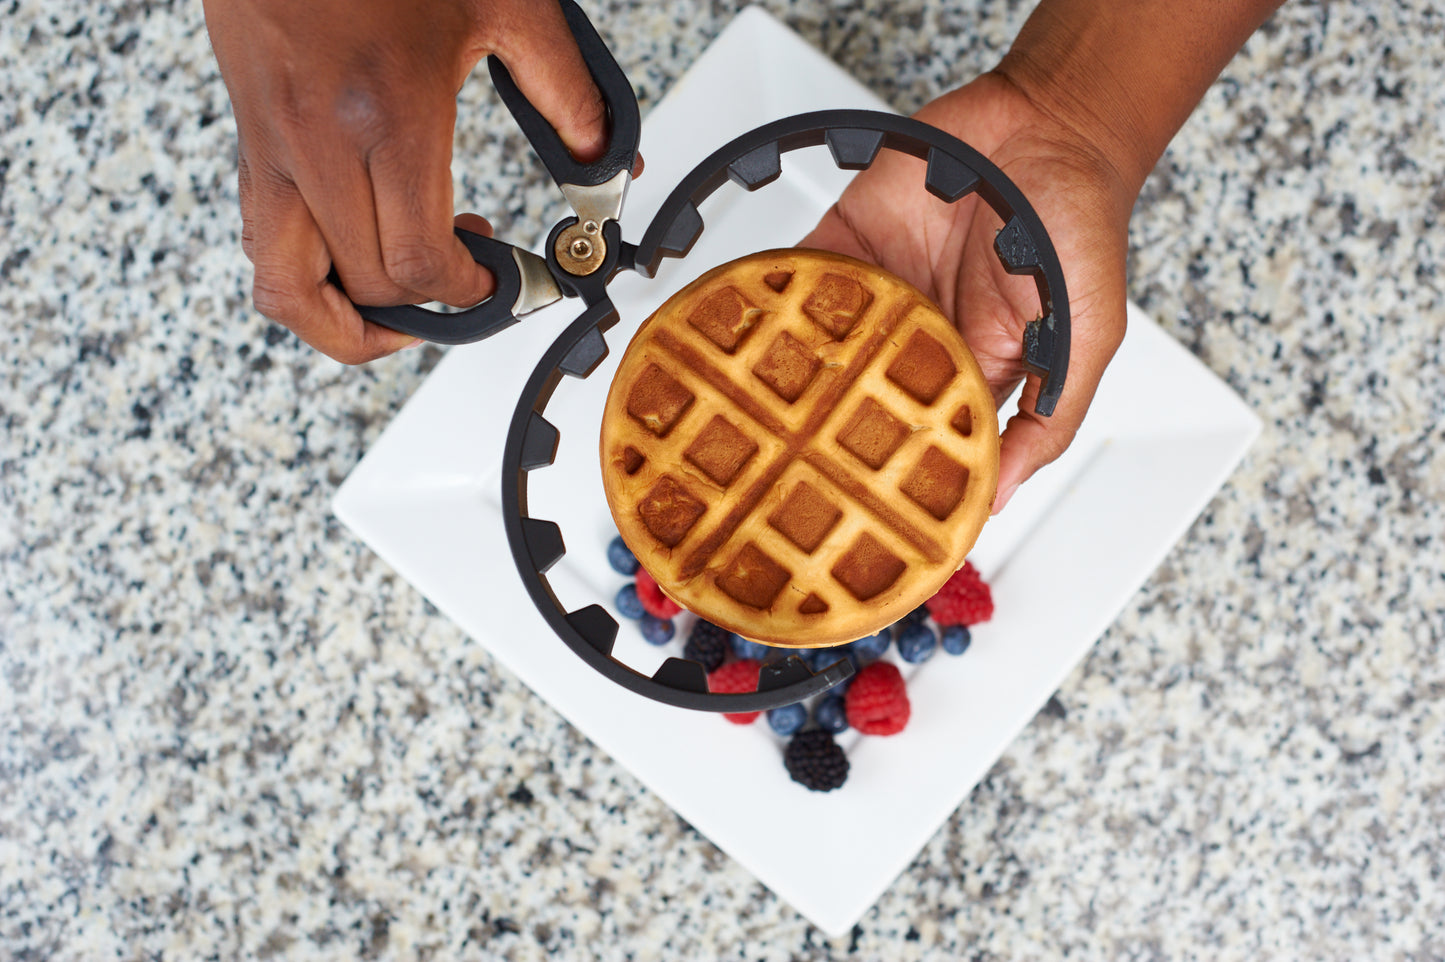
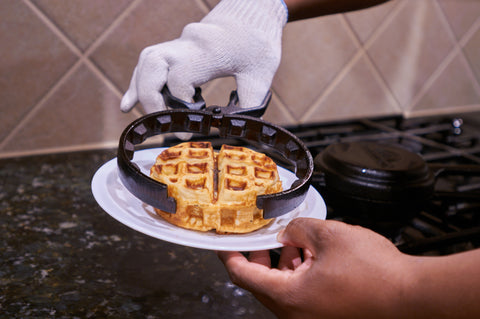
With one hand, lift up the top pan. With the other hand covered with a glove or mitt, remove the stuffed waffle by placing the thumb and index finger in the center pan handles. Do not remove the center pan while the top pan is resting in the upright position. If so, the top pan handle will tip over backwards.

Open the two sides of the center pan by separating thumb and finger, thus removing the stuffed waffle.
Wonderffle
The Stuffed Waffle Iron
Wonderffle
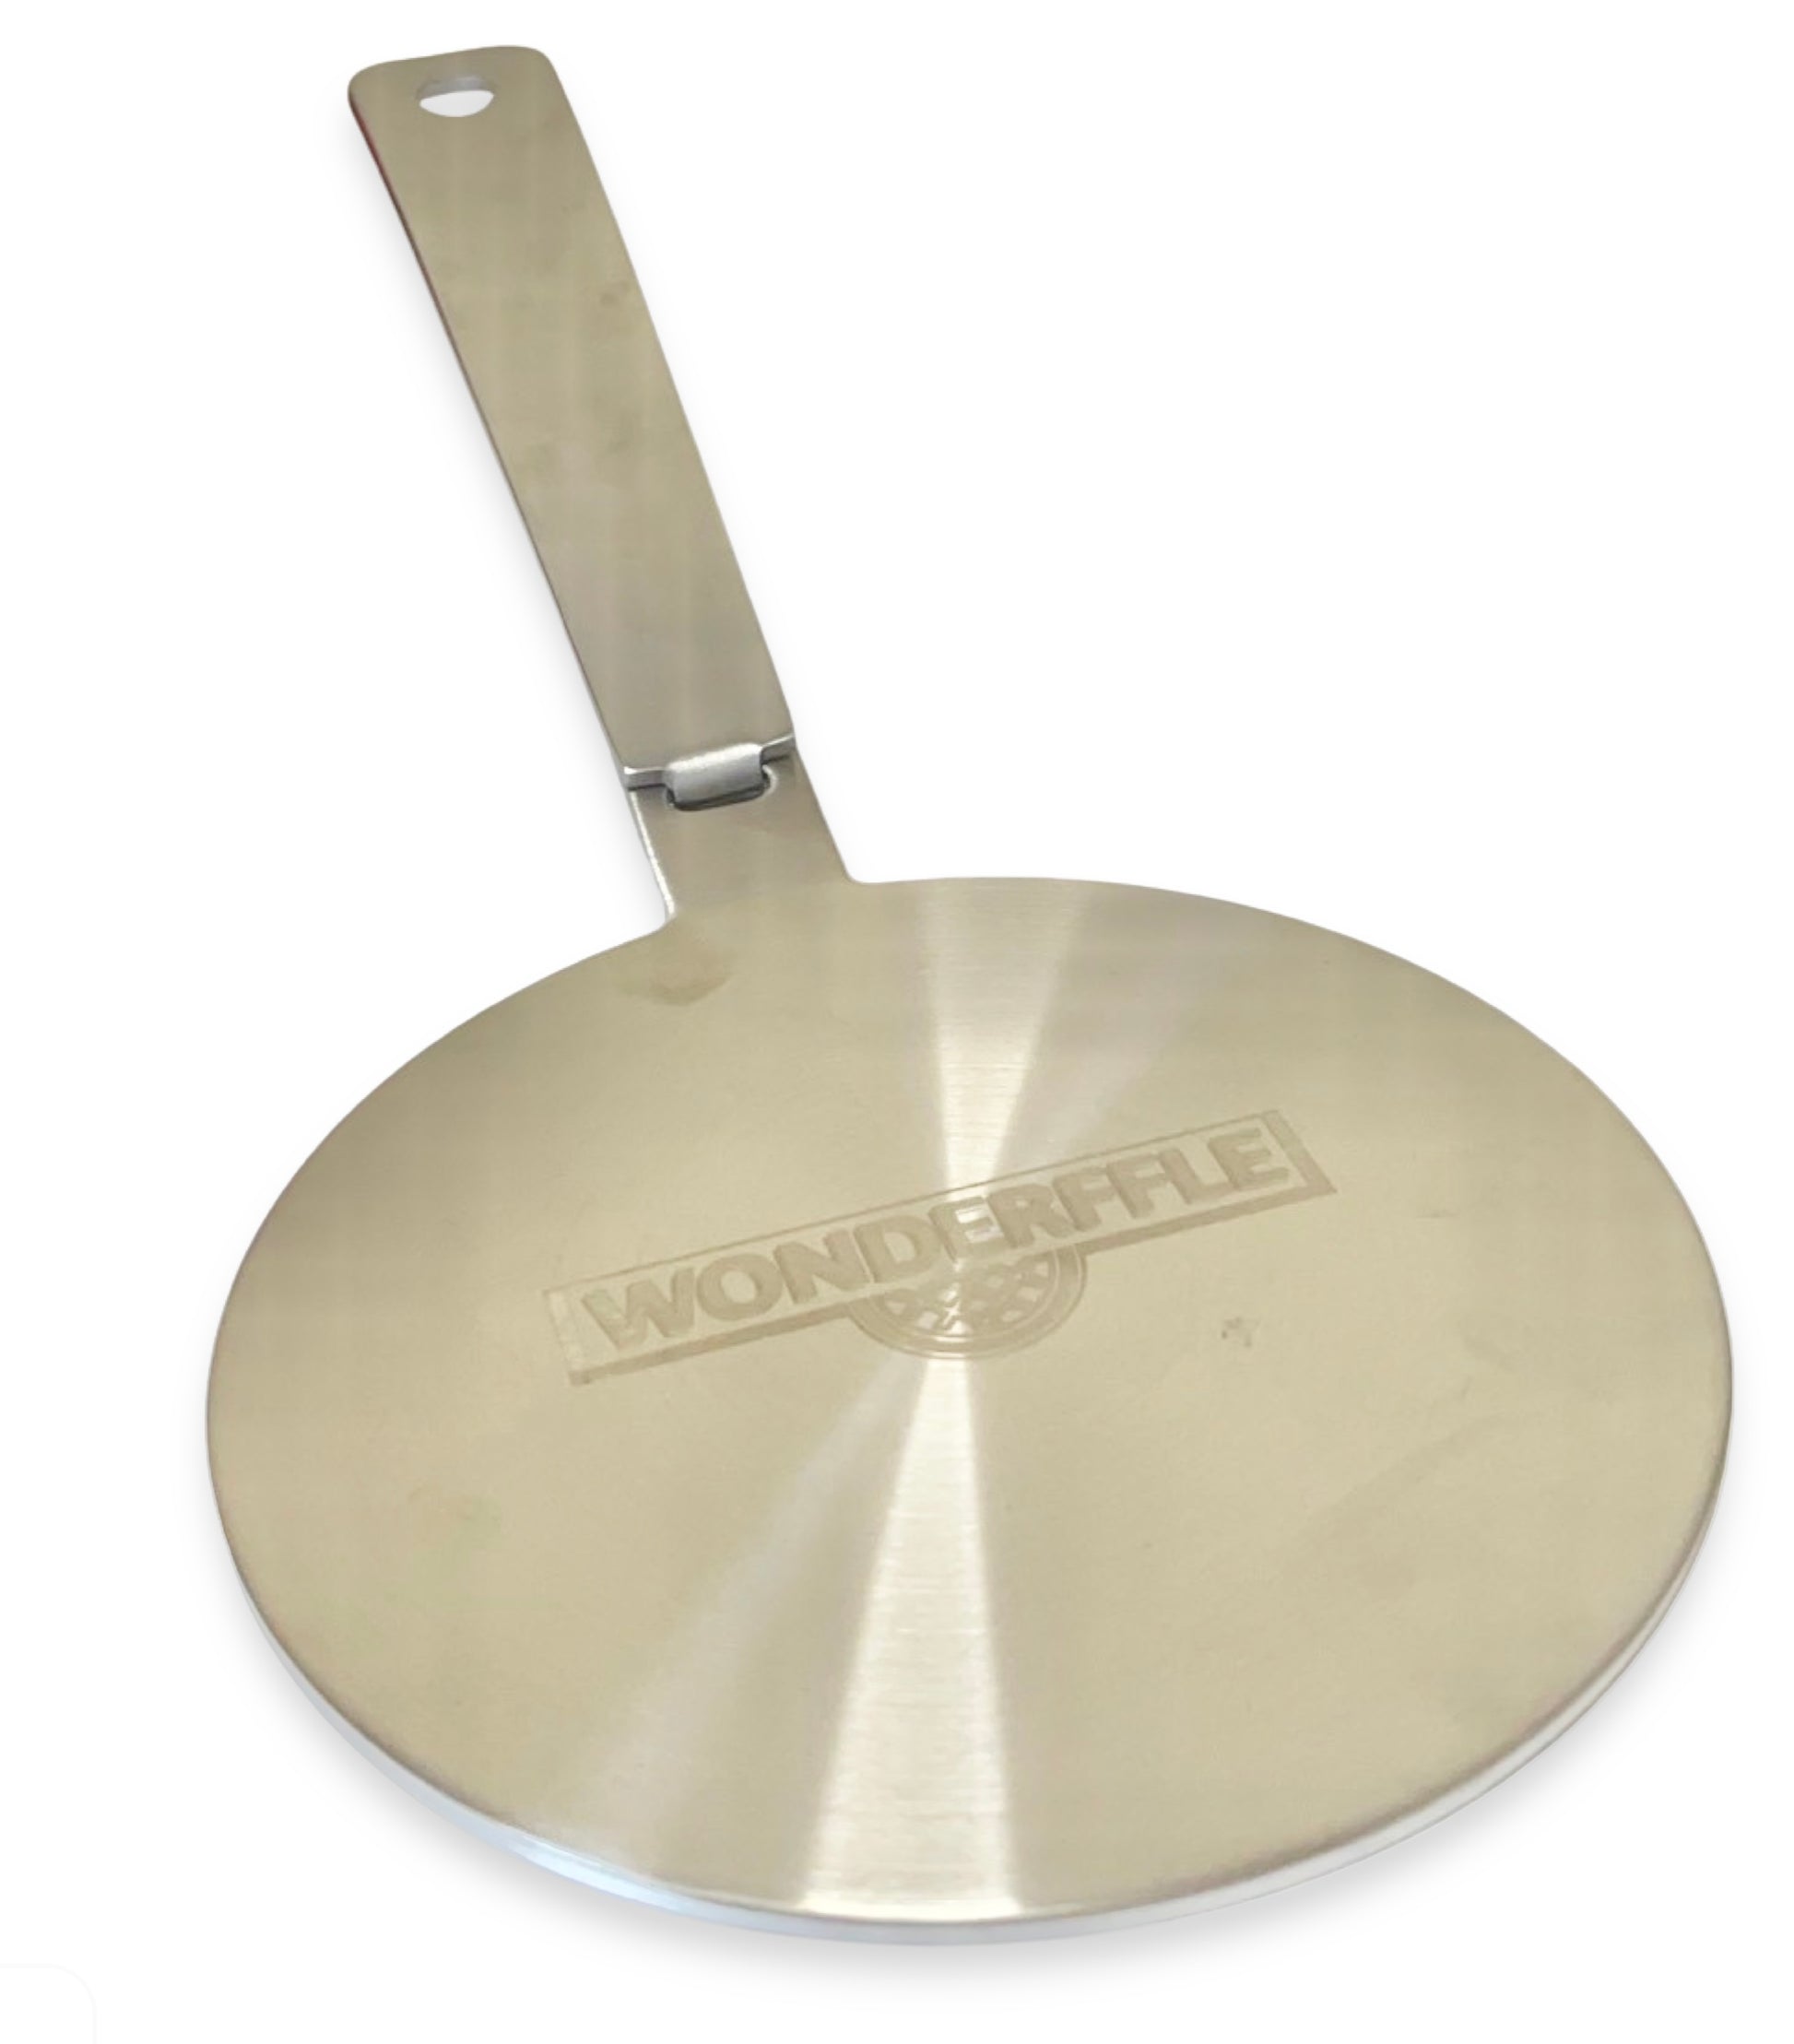
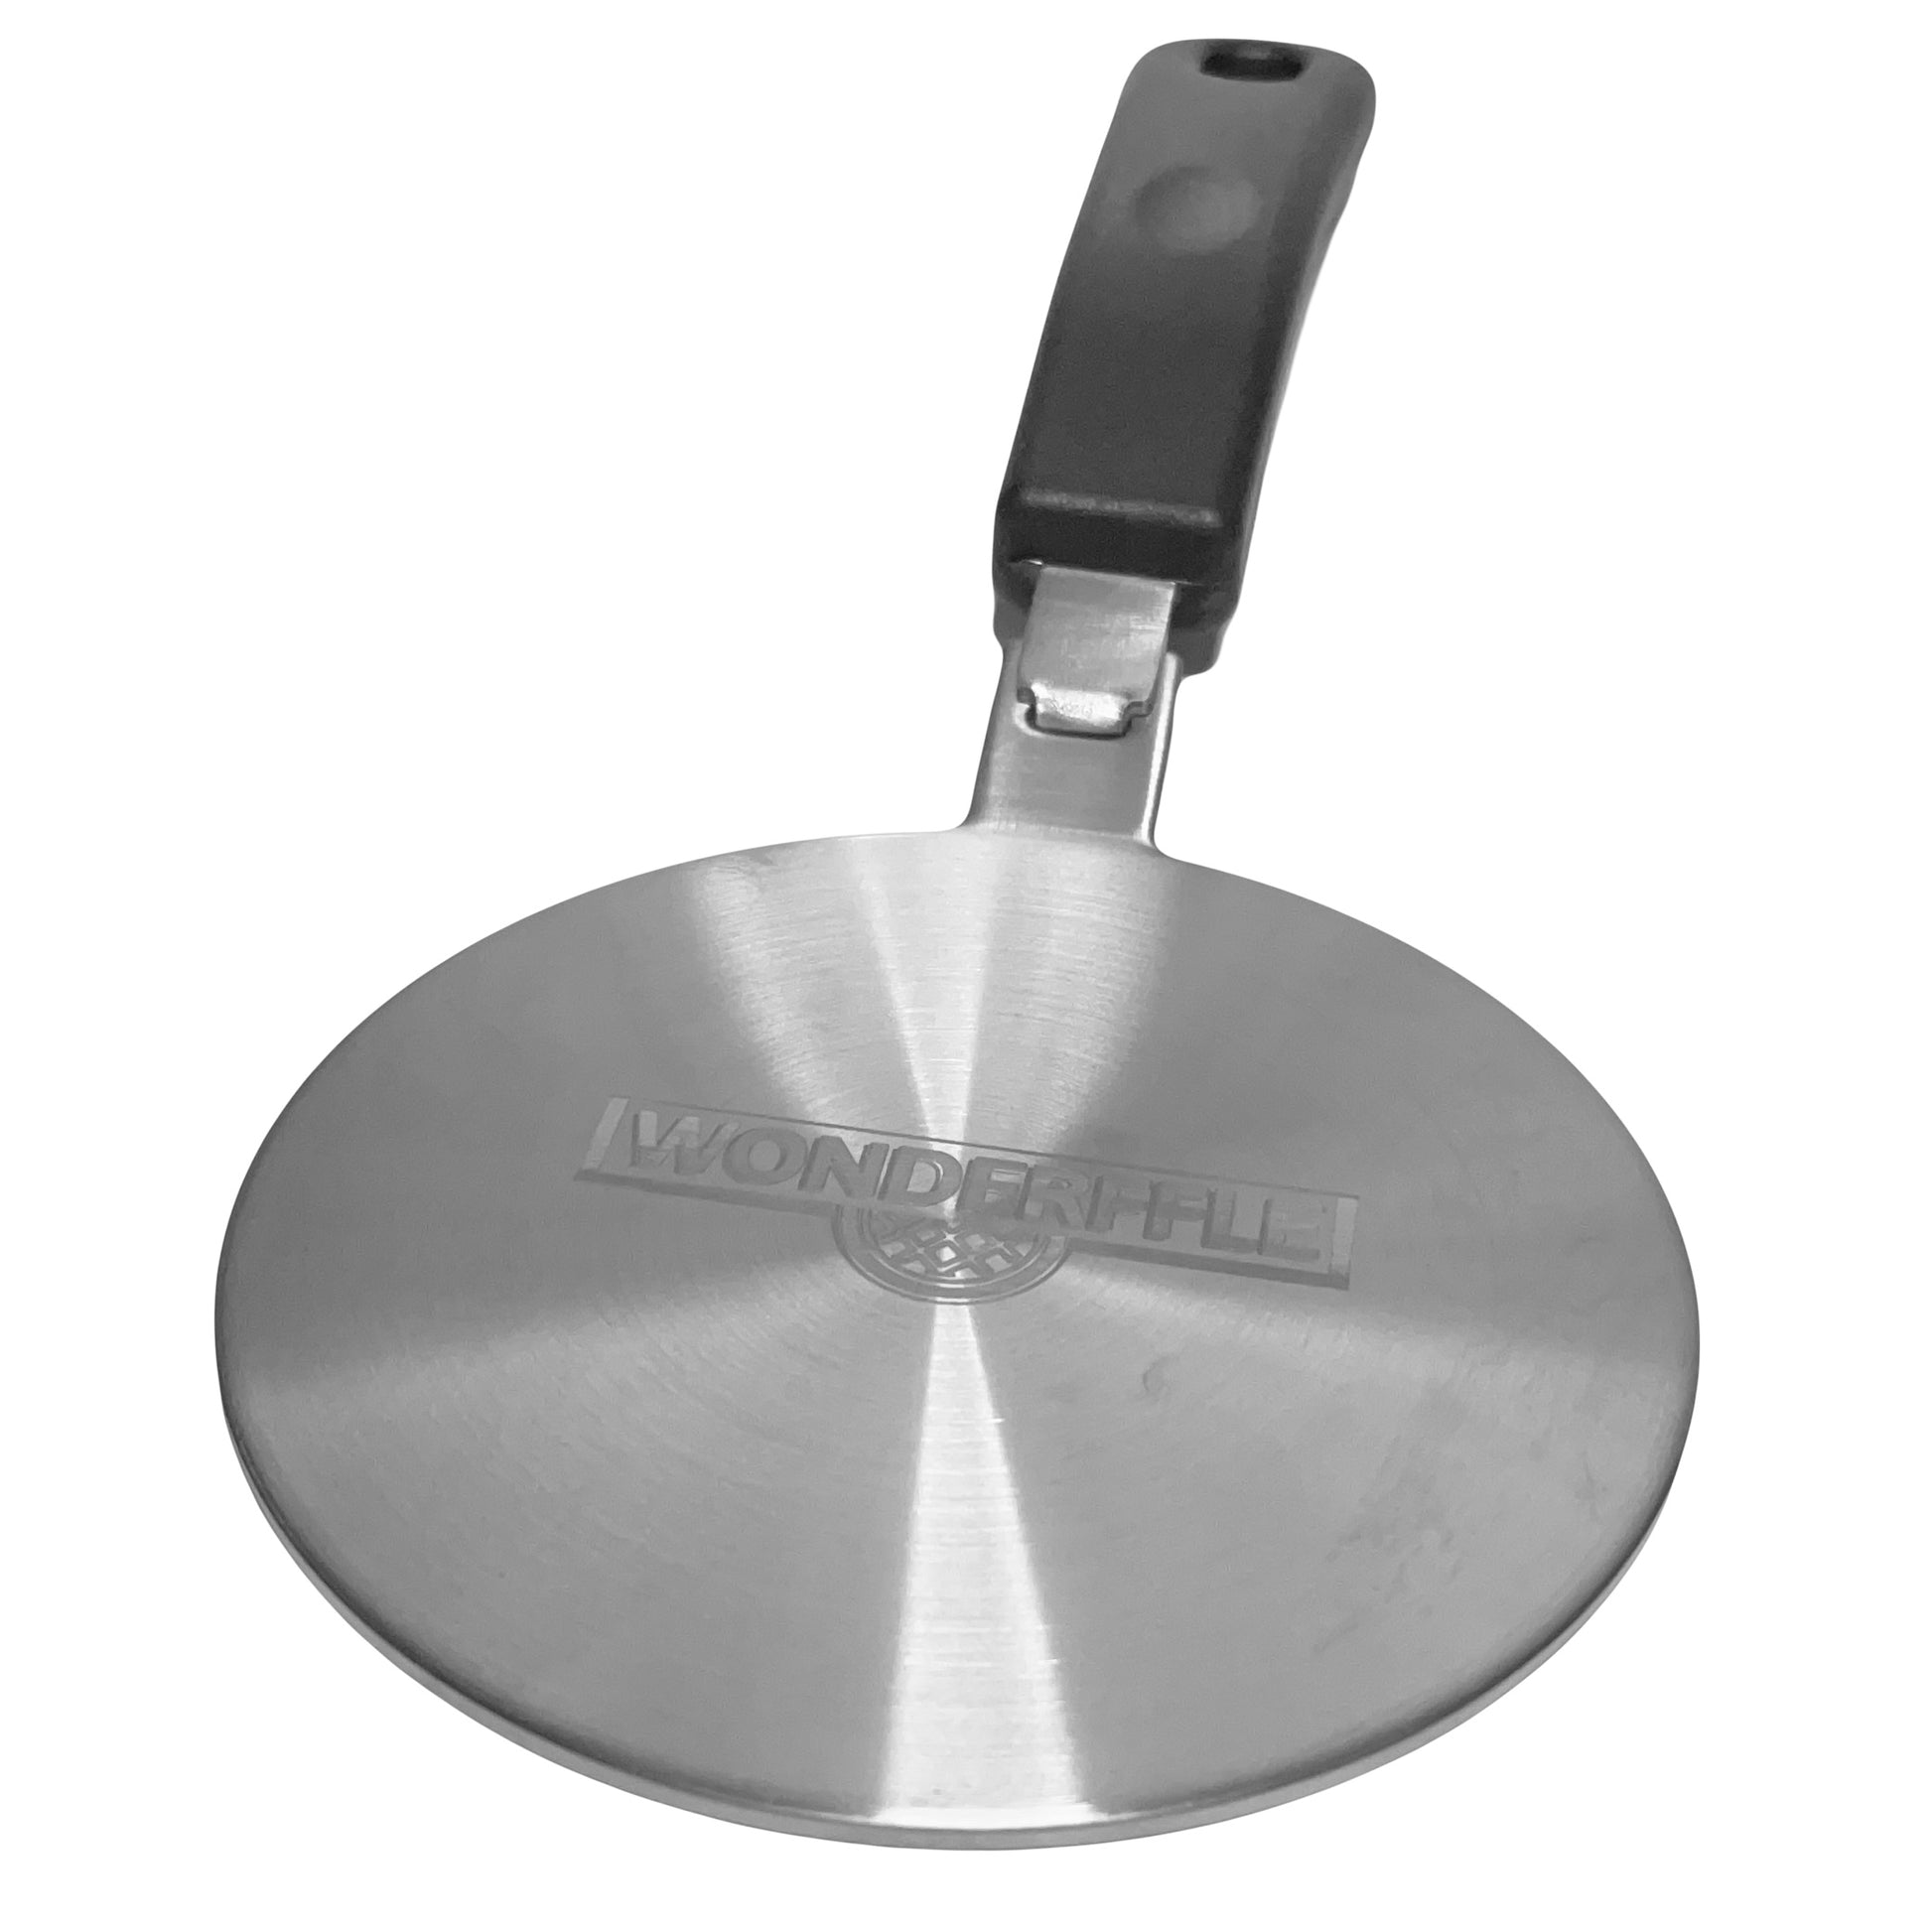
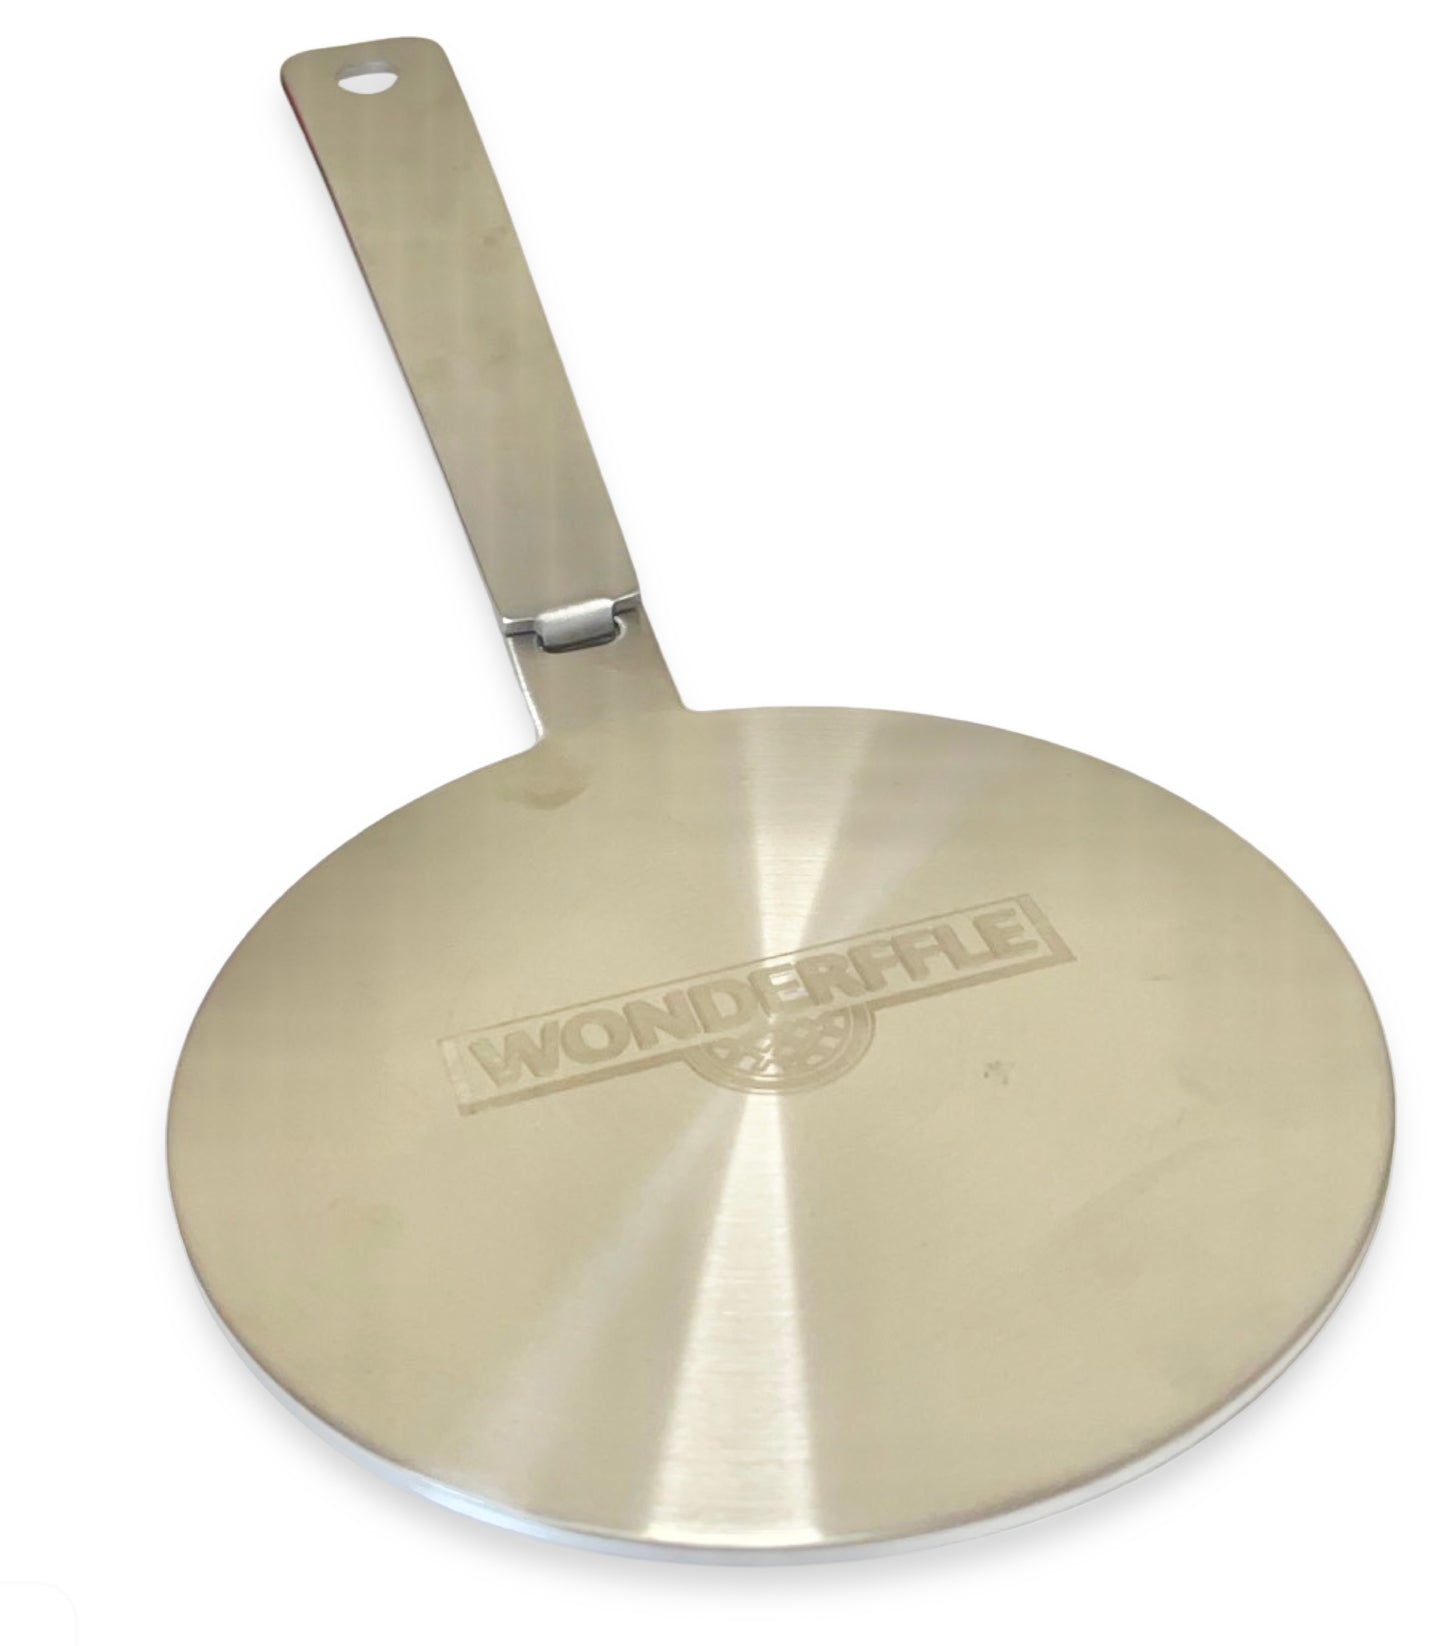
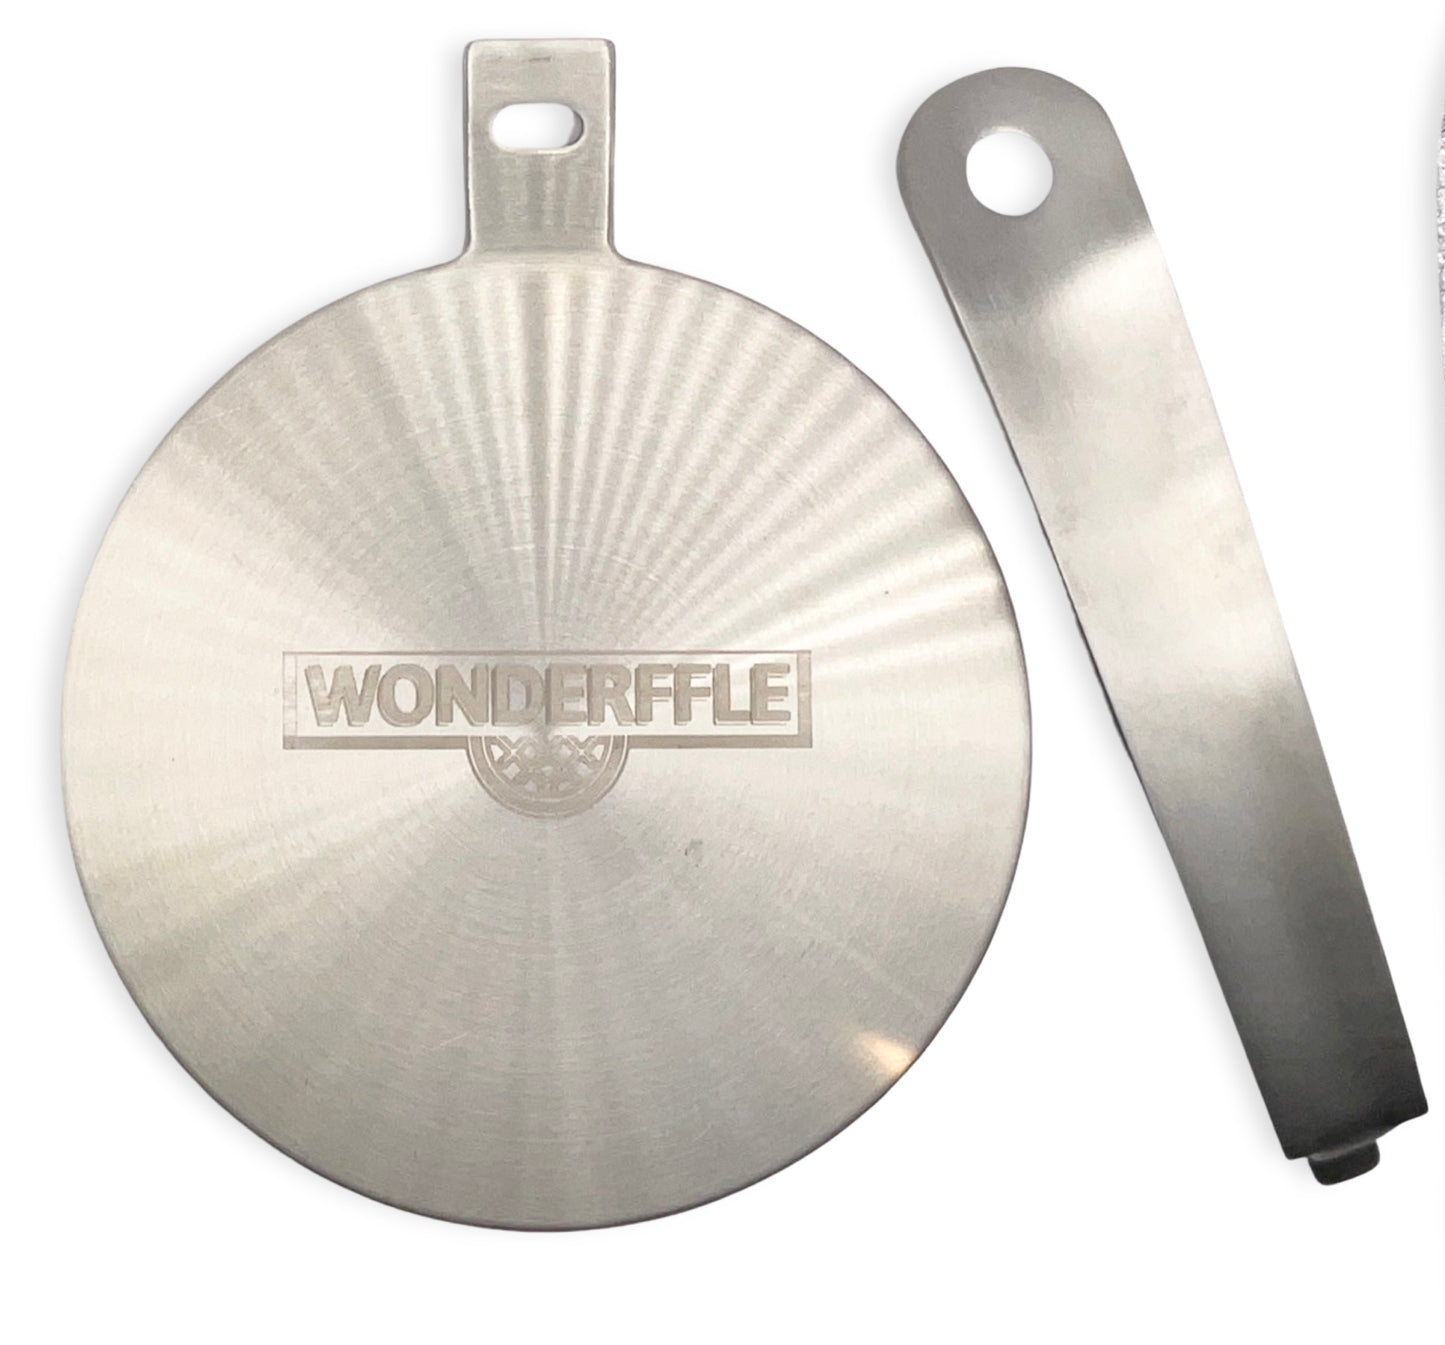
Induction Plate Adapter
Powerffle

