Baking With Clarified Butter
Clarified butter is a multi-purpose and flavorful ingredient that has become increasingly popular in the baking world. With its one-of-a-kind characteristics and advantages, clarified butter can improve not only the texture and flavor of baked goods, but its shelf life as well. If you’re looking for a tasty butter alternative for baking or simply want to develop your skills in the kitchen, clarified butter is a great ingredient to experiment with. Continue reading to learn about how clarified butter can impact your treats and how to use it in your recipes.
What is Clarified Butter?
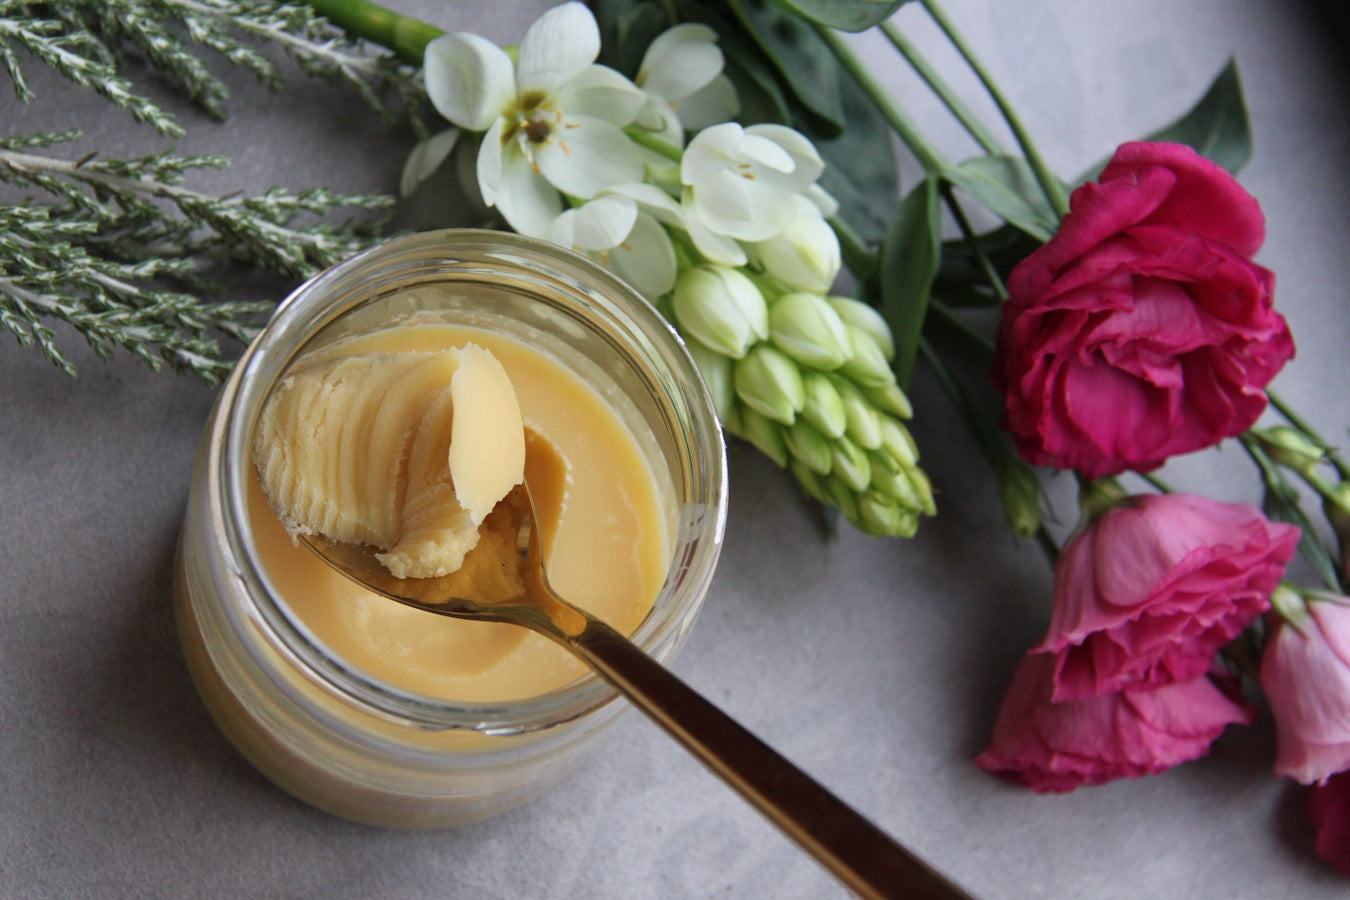
Clarified butter sounds more complex than it is; it’s butter that has been cooked to remove the water and milk solids from the fat. The process of clarifying butter is simple and begins by melting the butter in a saucepan over low heat. As the butter melts and the water content evaporates, it will begin to foam. Then, clumps of white milk solids will form and start to sink to the bottom of the pan, says the writers of MasterClass. At that point, you strain the butter through a sieve into a heatproof storage container and let it cool for later use. The result is a clear, golden liquid of pure butterfat with a rich, buttery flavor.
Advantages of Clarified Butter
There are several advantages of using clarified butter over regular butter in baking. First of all, clarified butter has a higher smoke point than regular butter, which makes it ideal for baking at higher temperatures. This is because the milk solids and water content have been removed, making it less likely to burn. The removal of these components also makes clarified butter more stable, so it’s less likely to separate or go rancid. Additionally, clarified butter has a silkier, richer flavor than regular butter, which can enhance the flavors of other ingredients in your recipe.
Here are a few more advantages of using clarified butter:
- It’s lactose-free and casein-free, making it a good choice for people with dairy allergies or sensitivities.
- Clarified butter can be stored at room temperature for up to 3 months if made properly, meaning it has a might longer shelf life than regular butter. (Alternatively, refrigerate for up to one year.)
How it Affects Texture and Moisture
When you use clarified butter in baking, just like oil, the absence of water can help to create a more tender and moist crumb (Bob’s Red Mill). However, since clarified butter is pretty much all fat, you can’t fully swap one for the other without expecting to get slightly different results. If you’re not careful, you could end up with a dessert that’s much greasier than intended. Baking with clarified butter can also yield a more flaky and crispy exterior. Some examples of baked goods that can benefit from the inclusion of clarified butter include pie crusts, shortbread cookies, and croissants.
How it Affects Browning and Flavor
Because clarified butter has no milk solids, your baked goods won’t brown as easily or quickly as those made with regular butter. This can be particularly helpful when wanting to achieve a light, golden crust on your baked goods. Additionally, as mentioned above, clarified butter has a richer, more intense (and sometimes nutty) flavor than regular butter, which can add depth and complexity to your baked goods. This is especially noticeable in pastries like croissants and puff pastries, which are already rich and buttery.
Substituting Clarified Butter in Recipes
Clarified butter is a good substitute for regular butter and can often be used in a 1:1 ratio. With that being said, you’ll have to keep a few things in mind. When using clarified butter, you have to consider the fact that it’s much higher in fat than regular butter, which means you might want to use a little less, or play around with the amount of other liquid you add. Additionally, the cooking time and temperature in recipes may need to be adjusted to account for the fact that clarified butter has a higher smoke point than regular butter.
Another thing to take into consideration is the fact that clarified butter does not cream nearly as well as regular butter. This means that it’s a better substitute in recipes that don’t call for creaming together butter and sugar, and rather those with melted butter or oil.
Tips for Clarifying Butter at Home
Clarifying butter at home is a super simple process that anyone can do. Although we’ve already touched on some, here is a list of tips for successfully clarifying butter at home:
- Use unsalted butter, as it has a lower water content than salted butter (Bob’s Red Mill).
- Melt the butter in a heavy-bottomed saucepan over low heat so it’s less likely to brown or burn.
- Do not stir the butter while it is melting. Stirring can prevent the milk solids from properly separating.
- Skim off the foam that rises to the surface.
- Slowly pour off the clear yellow liquid, leaving behind the residue of milk solids that have settled to the bottom of the pan.
- Strain the butter through a fine-mesh sieve or cheesecloth to remove any remaining milk solids.
- Store the clarified butter in an airtight container in the refrigerator for the longest shelf life (MasterClass).
Use these tips and tricks the next time you want to experiment with clarified butter, and don’t be afraid to add it to your favorite recipes. By understanding the science behind clarified butter and following a few simple guidelines mentioned above, you should easily (and successfully) be able to incorporate it into your own baking.